Key Concepts
Before diving into the screens, here's what each term means in plain English.
Action Button
A custom button placed on record pages or list views. When clicked, it triggers one or more automated actions — like creating a record, updating fields, or calling a webhook.
Placement
Where an action button appears in the UI. It can show in each list view row (and on the record page) or in the mass action toolbar for bulk operations.
Visibility
Role-based control over who can see an action button. Only users in selected roles will see the button.
Conditions
Optional criteria that determine when a button is visible. If no conditions are set, the button is always visible to users with the right role.
Webhook
An HTTP request sent to an external URL when an action fires. Used to integrate with third-party services.
Custom Action
A user-defined action that executes custom logic. Provides flexibility beyond the built-in action types.
Action Buttons List
This page shows all action buttons configured in your workspace. Each button triggers automated actions when users click it on a record page or list view.
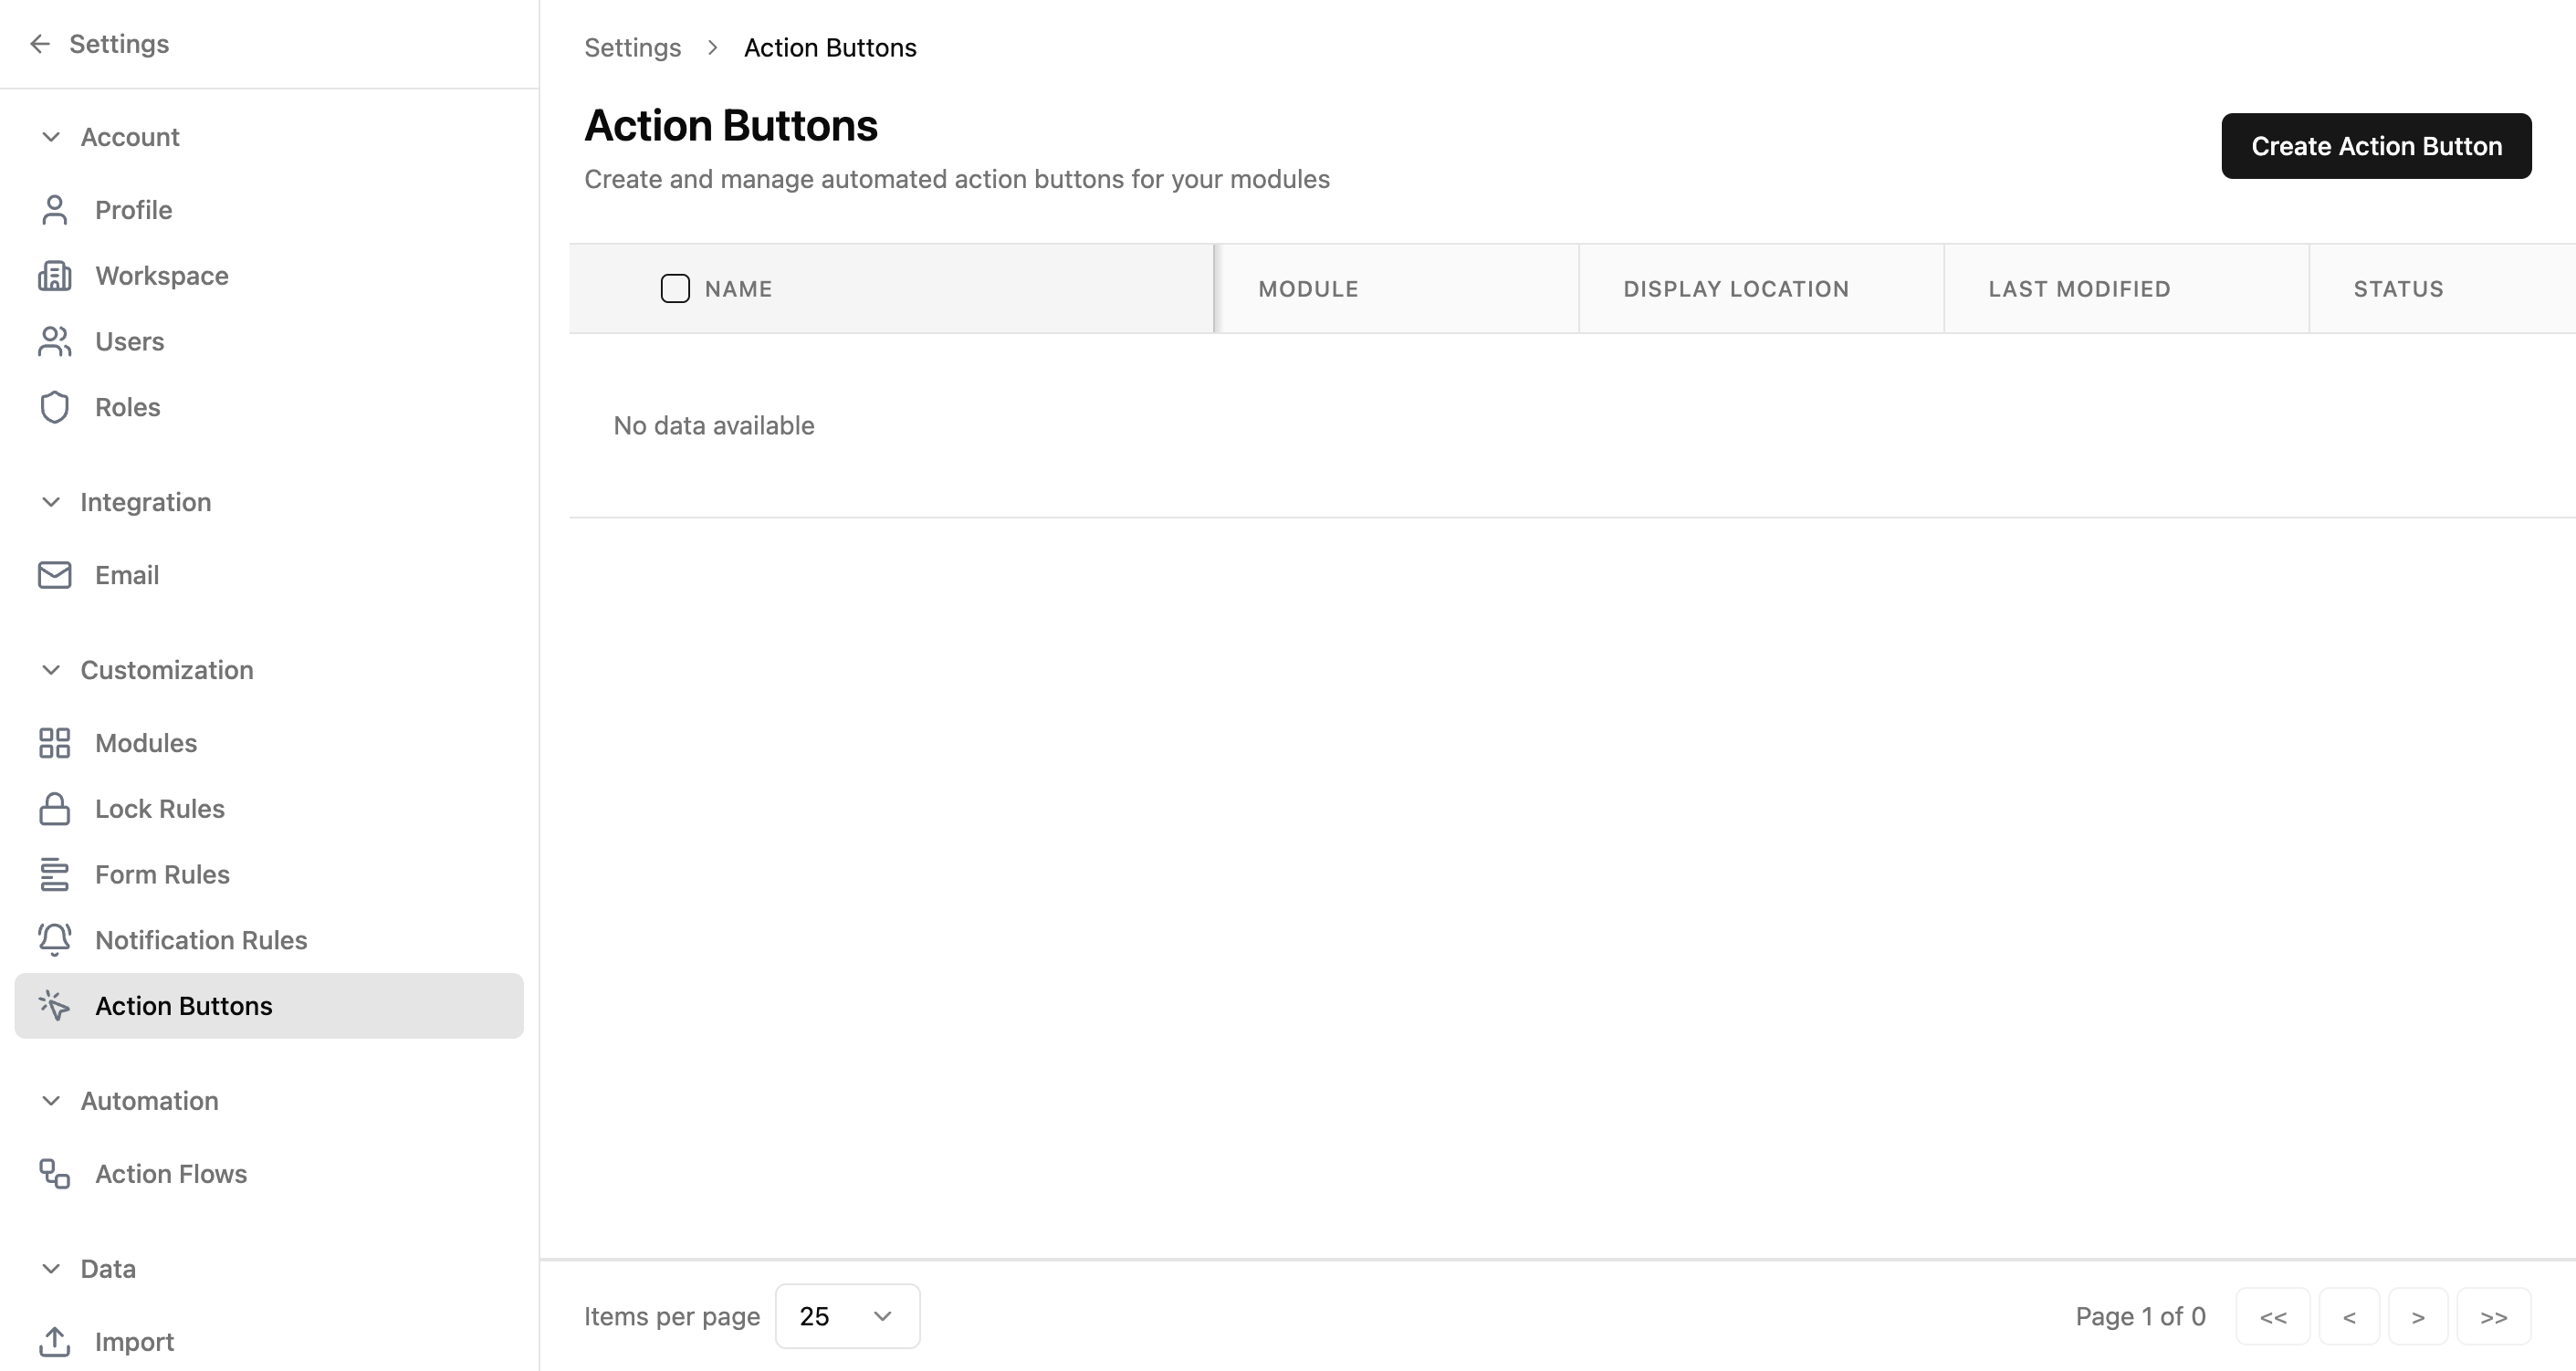
Table Columns
| Column | Description |
|---|---|
| Name | The button's display label. Includes a checkbox for bulk selection. |
| Module | Which module's records show this button. |
| Display Location | Where the button appears (list view row or mass action toolbar). |
| Last Modified | When the button configuration was last updated. |
| Status | Whether the button is currently active or inactive. |
| Actions | Three-dot menu with Edit and Delete options. |
Available Actions
| Action | How |
|---|---|
| Create an action button | Click the "Create Action Button" button (top right) |
| Edit an action button | Click the three-dot menu → Edit |
| Delete action buttons | Select checkboxes and use bulk delete, or three-dot menu → Delete |
| Enable/disable a button | Toggle the Status switch in the table row |
Creating an Action Button
Click "Create Action Button" to open a dialog where you define the button's basic details. This is step 1 — after clicking Next, you'll configure placement, visibility, and actions in the builder.
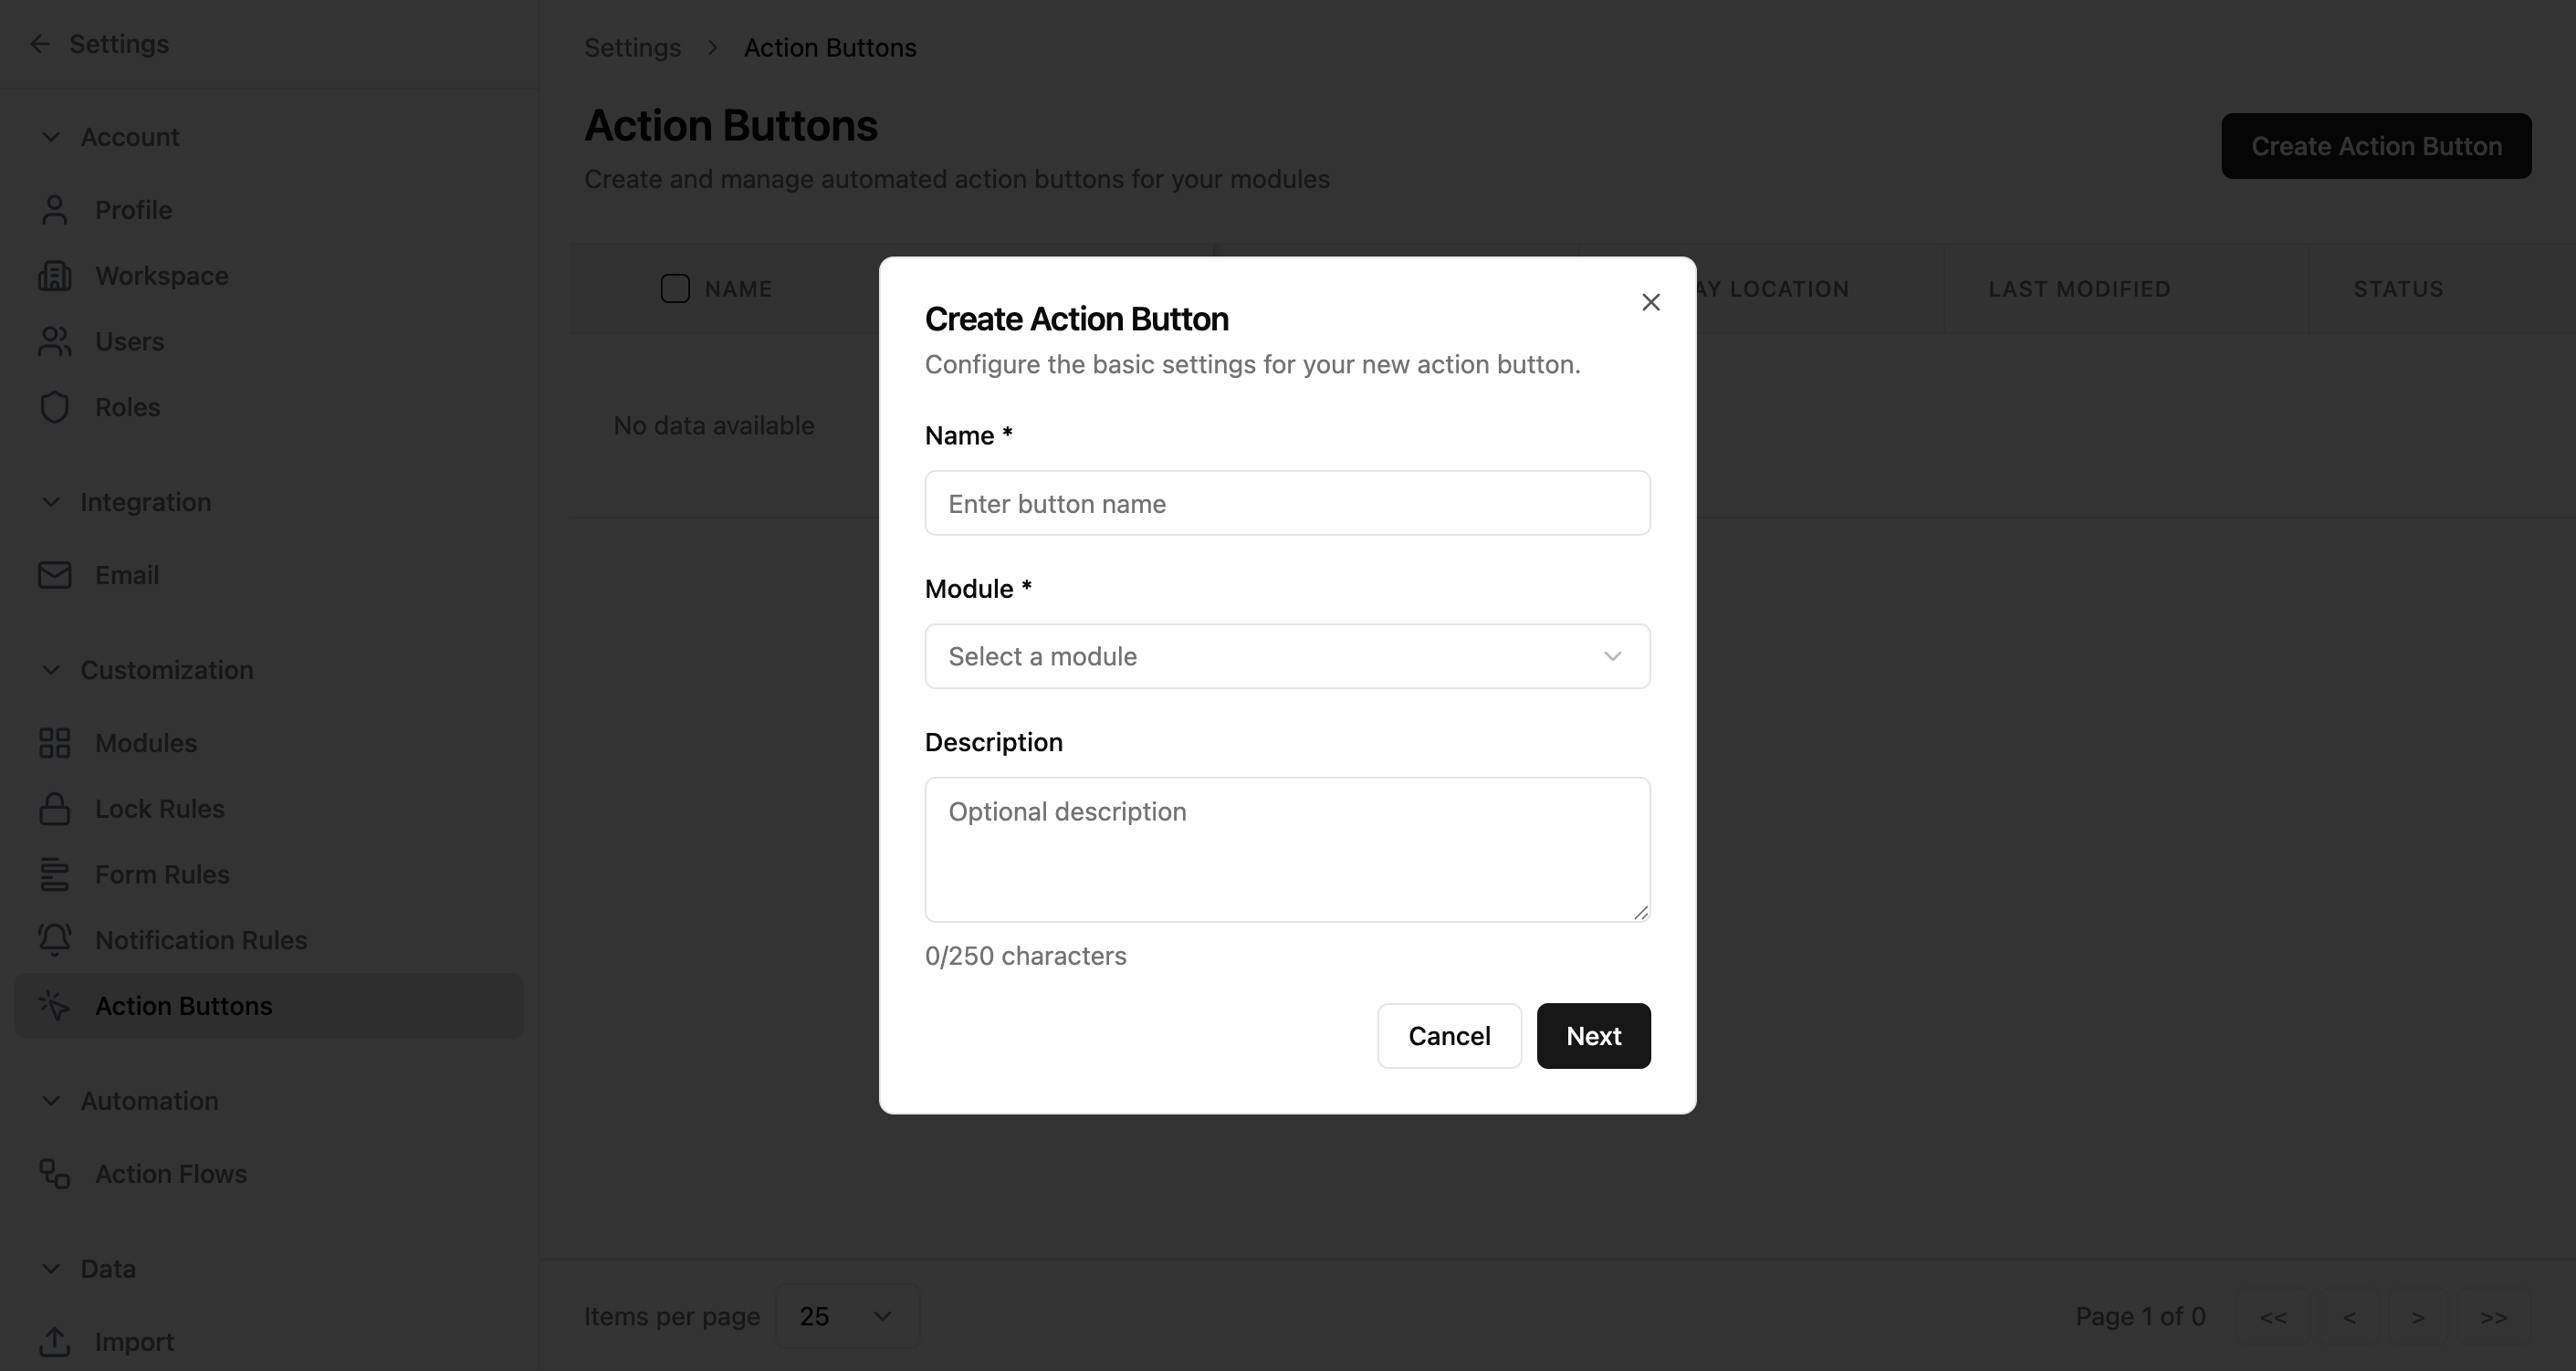
Form Fields
| Field | Required | Description |
|---|---|---|
| Name | Required | The button's display label that users will see (e.g., "Send Invoice", "Convert to Deal"). |
| Module | Required | The module where this button appears. Options: Lead, Contact, Deal, Account. |
| Description | Optional | A brief explanation of what this button does. Max 250 characters. |
Steps
- 1Click "Create Action Button" on the Action Buttons page
- 2Enter a descriptive name for the button
- 3Select the target module from the dropdown
- 4Optionally add a description
- 5Click "Next" to open the Action Button Builder
Action Button Builder
The builder is a full-page editor where you configure everything about your action button — where it appears, who can see it, when it's visible, and what happens when clicked.
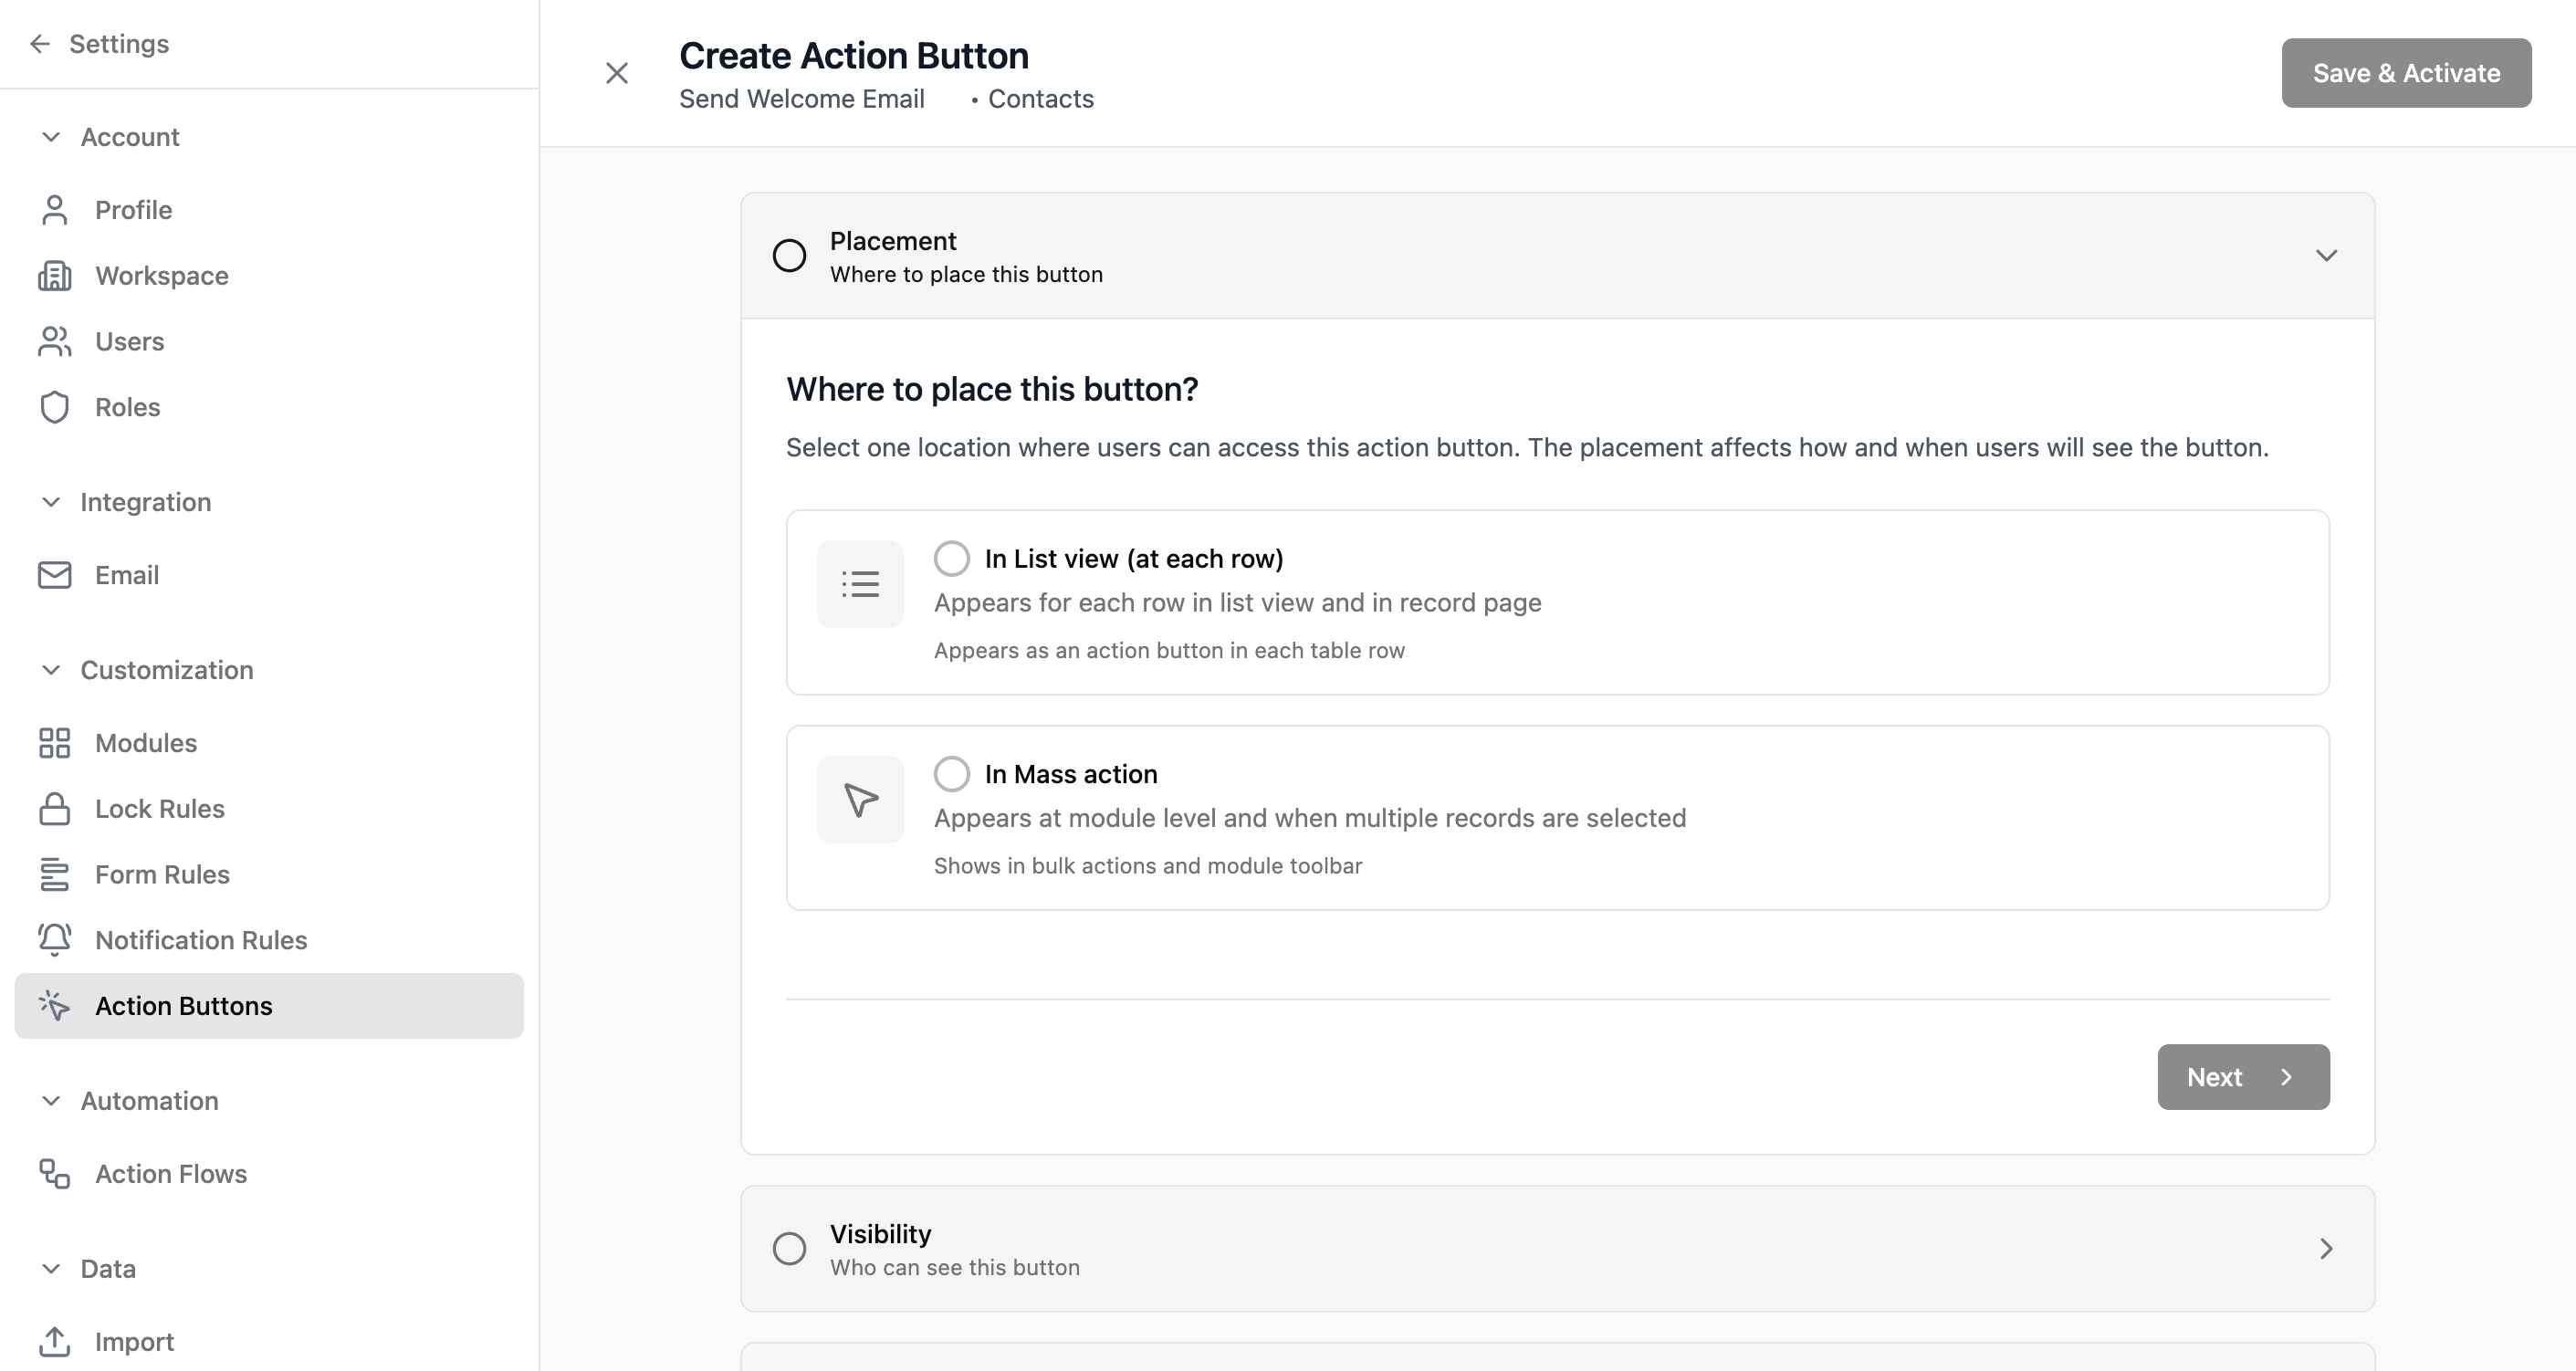
Page Header
| Element | Description |
|---|---|
| "Create Action Button" heading | Page title indicating you're building a new button. |
| Button Name | The name you entered in step 1. |
| Module Name | The module this button belongs to. |
| "Save & Activate" | Saves the configuration and activates the button. Disabled until at least one action is configured. |
Configuration Sections
| Section | What It Controls |
|---|---|
| Placement | Where the button appears in the UI. |
| Visibility | Which roles can see the button. |
| Conditions | Optional criteria for when the button is visible. |
| Actions | What happens when the button is clicked. |
Tip: The "Save & Activate" button remains disabled until you configure at least one action in the Actions section.
Placement
Choose where your action button appears in the UI. This determines how users access it.
Placement Options
| Option | Where It Appears |
|---|---|
| In List view (at each row) | The button appears in each table row in the list view and also on the record detail page. |
| In Mass action | The button appears in the bulk actions toolbar and module toolbar. Used for operations on multiple selected records. |
Choosing the Right Placement
- Use "In List view" for actions on individual records — like sending an email to a specific contact or converting a single lead
- Use "In Mass action" for bulk operations — like updating the status of multiple records at once or exporting selected records
Visibility
Control which roles can see this button. Only users assigned to selected roles will see the button in their UI.
How It Works
- Select one or more roles from the dropdown
- Only users in those roles will see the button
- If no roles are selected, the button is visible to all users
- Use this to restrict powerful actions (like record deletion or conversion) to specific roles
Conditions
Define optional criteria that control when the button is visible. If no conditions are set, the button is always visible (to users with the right role).
Default State
By default, this section shows "No conditions set (always visible)". Add conditions when you want the button to appear only for records in a specific state.
Use Cases
| Scenario | Condition |
|---|---|
| Show "Send Invoice" only for won deals | Stage equals "Closed Won" |
| Show "Convert to Deal" only for qualified leads | Status equals "Qualified" |
| Show "Escalate" only for high-priority tickets | Priority equals "High" or "Critical" |
Actions
Define what happens when the button is clicked. You can configure one or more actions that execute in sequence.
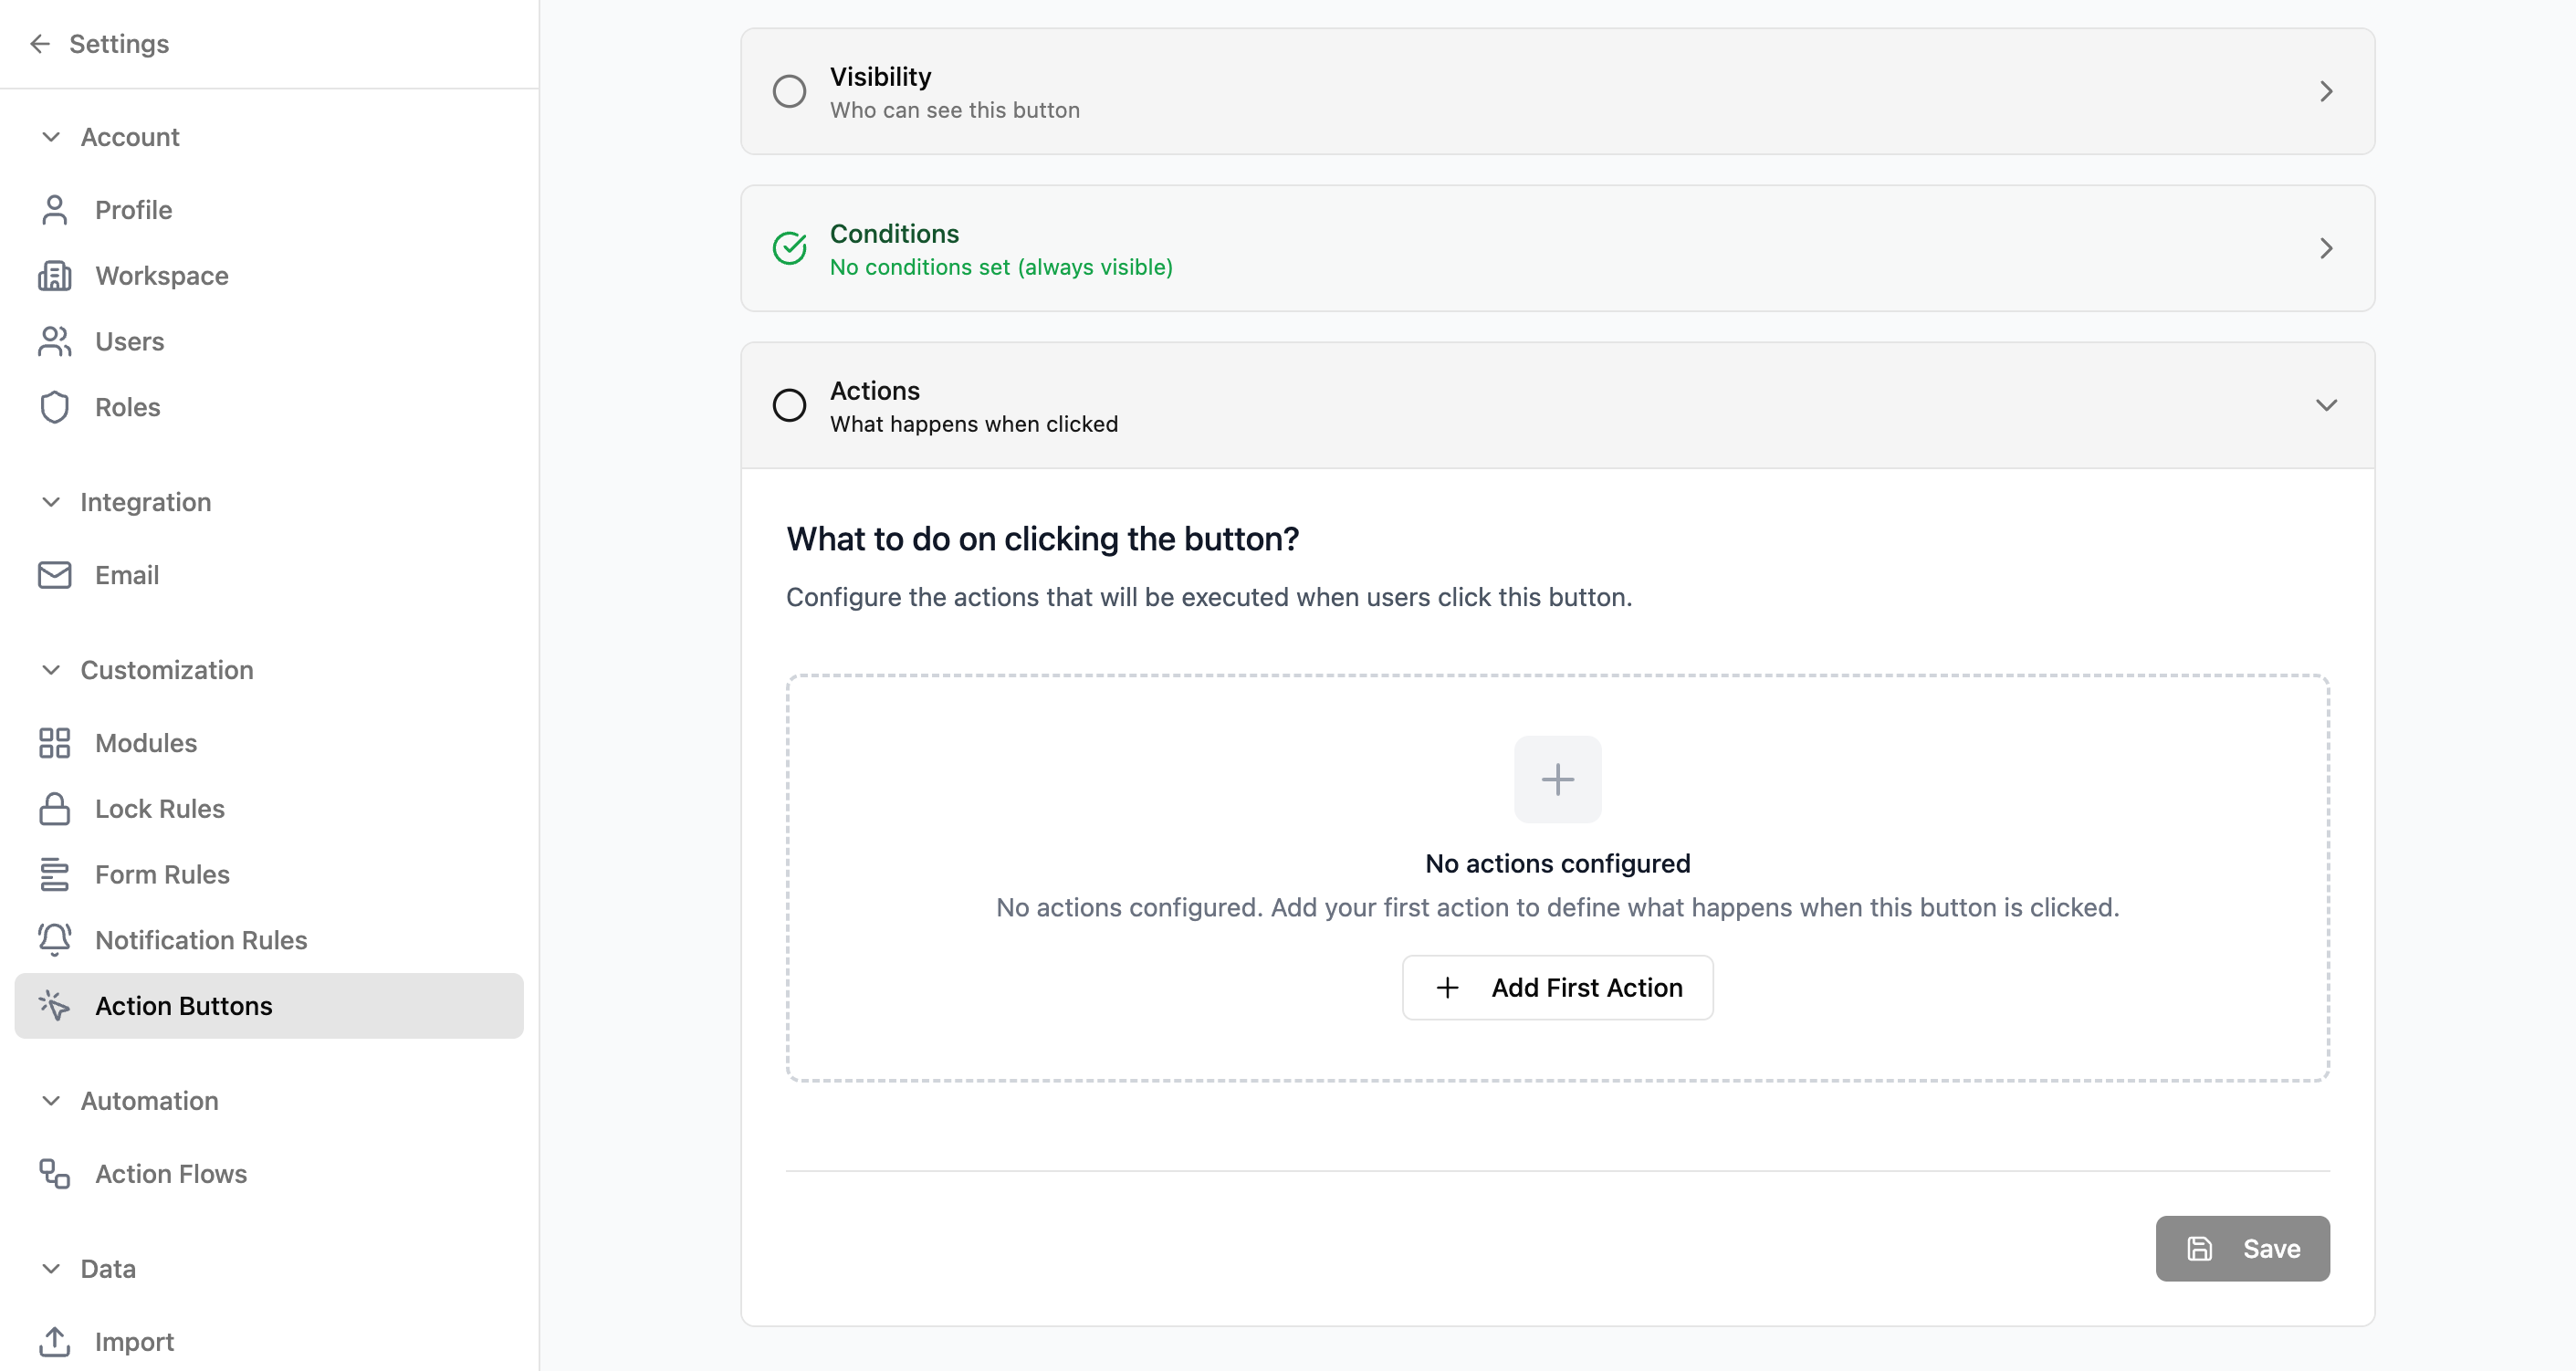
Empty State
When no actions are configured, you see the message "No actions configured. Add your first action..." with an "Add First Action" button.
How It Works
- 1Click "Add First Action" (or "Add Action" for subsequent actions)
- 2Choose an action type from the dialog that appears
- 3Configure the action's details (varies by type)
- 4The action appears in the list — add more actions if needed
- 5Actions execute in the order they're listed when the button is clicked
Action Types
When you click "Add First Action" or "Add Action", a dialog appears with four action types to choose from.
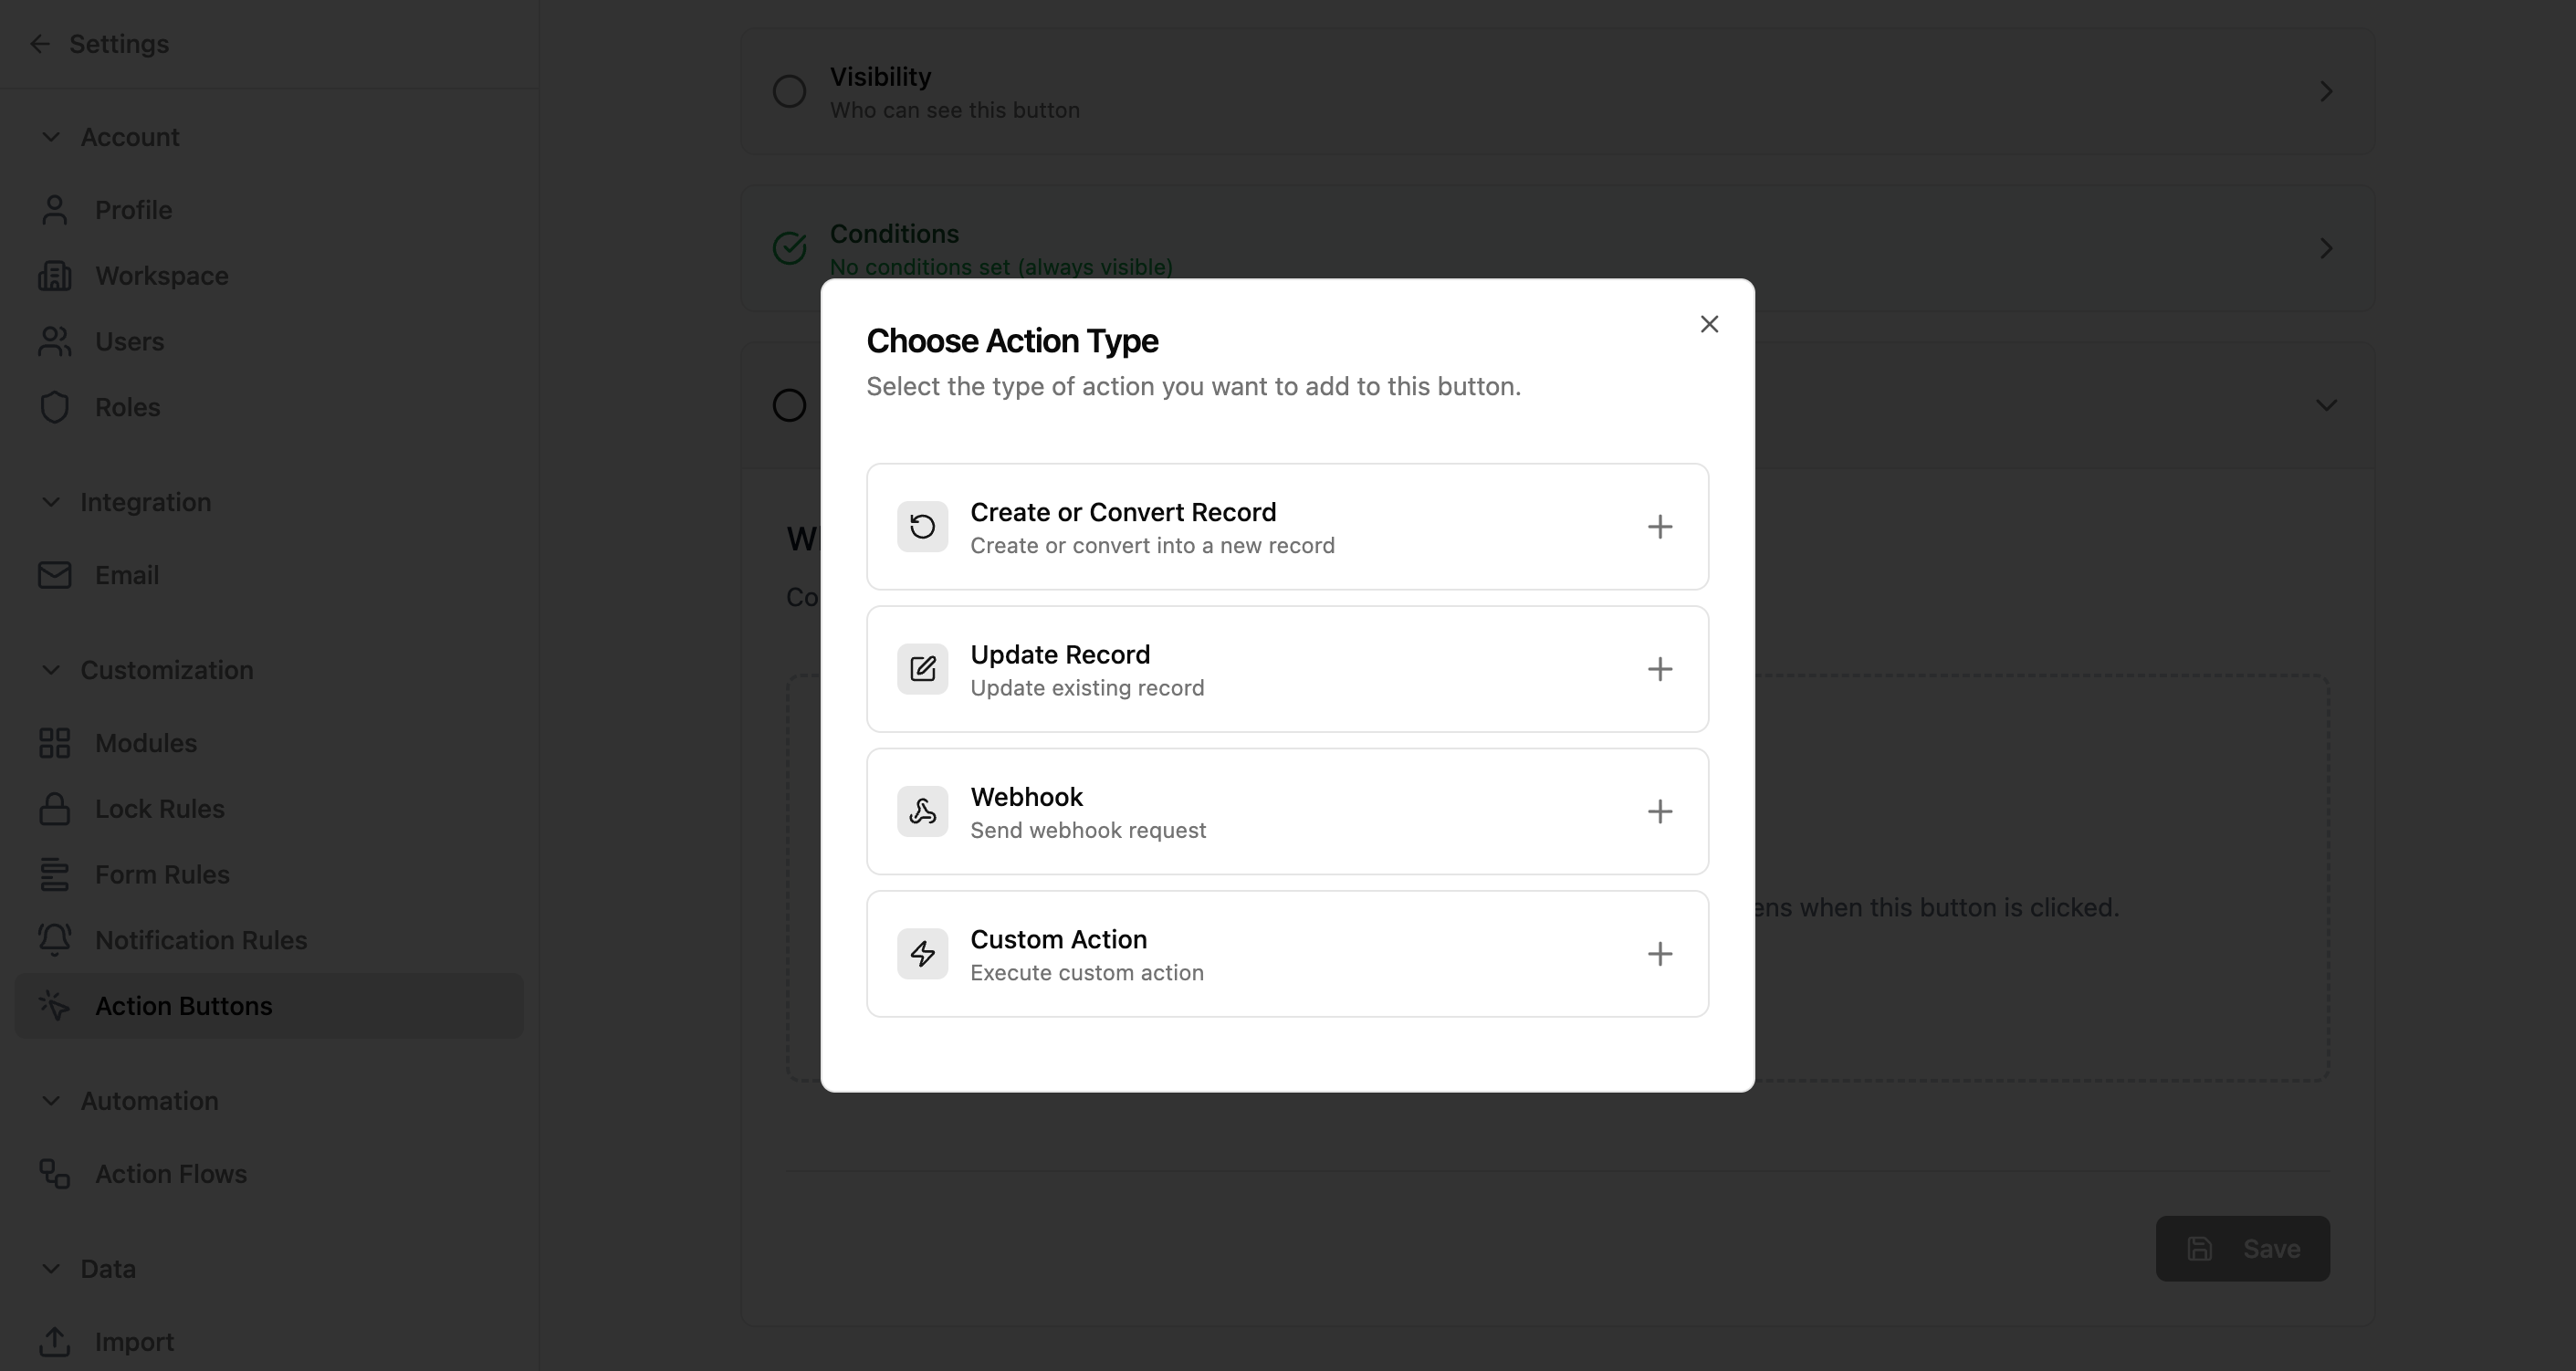
Available Action Types
| Action Type | Description | Use Case |
|---|---|---|
| Create or Convert Record | Create a new record in any module or convert the current record into a different module. | Convert a Lead to a Deal, create a follow-up Task from a Contact. |
| Update Record | Update fields on the current record or a related record. | Set status to "Approved", update a date field to today, increment a counter. |
| Webhook | Send an HTTP request to an external URL with record data. | Notify a Slack channel, trigger an external workflow, sync data to another system. |
| Custom Action | Execute custom logic defined by your team. | Run complex business rules, call internal APIs, perform calculations. |
Tip: You can add multiple actions to a single button. They execute in sequence — for example, first update the record's status, then send a webhook notification.
Real-World Use Case
Logistics company — one-click shipment dispatch
A logistics company manages hundreds of shipments. When a shipment is ready to go, the dispatcher needs to update its status, notify the driver, and log the dispatch time — all in one click instead of editing three fields manually.
- 1Create an action button named "Dispatch Shipment" on the Shipments module
- 2Set placement to "In List view (at each row)" so dispatchers can trigger it from the list or record page
- 3Add a condition: Status equals "Ready" (button only appears for shipments ready to dispatch)
- 4Set visibility to the Dispatcher and Logistics Manager roles only
- 5Add Action 1: Update Record — set Status to "In Transit", set Dispatch Time to current timestamp
- 6Add Action 2: Webhook — send shipment details to the driver notification system (SMS/push)
- 7Save & Activate — dispatchers now have a single button that handles the entire dispatch workflow
Adapt this for your team: Action buttons turn multi-step manual processes into one-click operations. A law firm can add a "Send to Client" button that updates status and triggers a document email. A hospital can add an "Admit Patient" button that creates a room assignment and notifies nursing staff. A school can add a "Promote Student" button that moves records to the next academic year. Any repetitive action sequence is a candidate for a custom button.
Common Workflows
Create a button to convert a Lead to a Deal
- 1Go to Settings → Action Buttons
- 2Click "Create Action Button"
- 3Name it "Convert to Deal" and select Lead as the module
- 4Click "Next"
- 5In Placement, select "In List view (at each row)"
- 6In Conditions, add a condition: Status equals "Qualified"
- 7In Actions, click "Add First Action"
- 8Select "Create or Convert Record"
- 9Configure the conversion mapping (Lead fields → Deal fields)
- 10Click "Save & Activate"
Create a webhook button to notify an external system
- 1Go to Settings → Action Buttons
- 2Click "Create Action Button"
- 3Name it "Sync to ERP" and select the target module
- 4Click "Next"
- 5In Placement, select "In List view (at each row)"
- 6In Visibility, select only roles that should have access
- 7In Actions, click "Add First Action"
- 8Select "Webhook"
- 9Configure the URL, method, and payload
- 10Click "Save & Activate"
Create a bulk action button for mass status update
- 1Go to Settings → Action Buttons
- 2Click "Create Action Button"
- 3Name it "Mark as Contacted" and select Lead as the module
- 4Click "Next"
- 5In Placement, select "In Mass action"
- 6In Actions, click "Add First Action"
- 7Select "Update Record"
- 8Configure it to set Status to "Contacted"
- 9Click "Save & Activate"
- 10Select multiple leads in the list view and click the button in the toolbar