Overview
Records are the core data entries in your modules — deals, contacts, leads, accounts, or any custom module you've created. This guide covers the full lifecycle of working with records.
Create
Add new records with a form that shows all fields for the module.
View
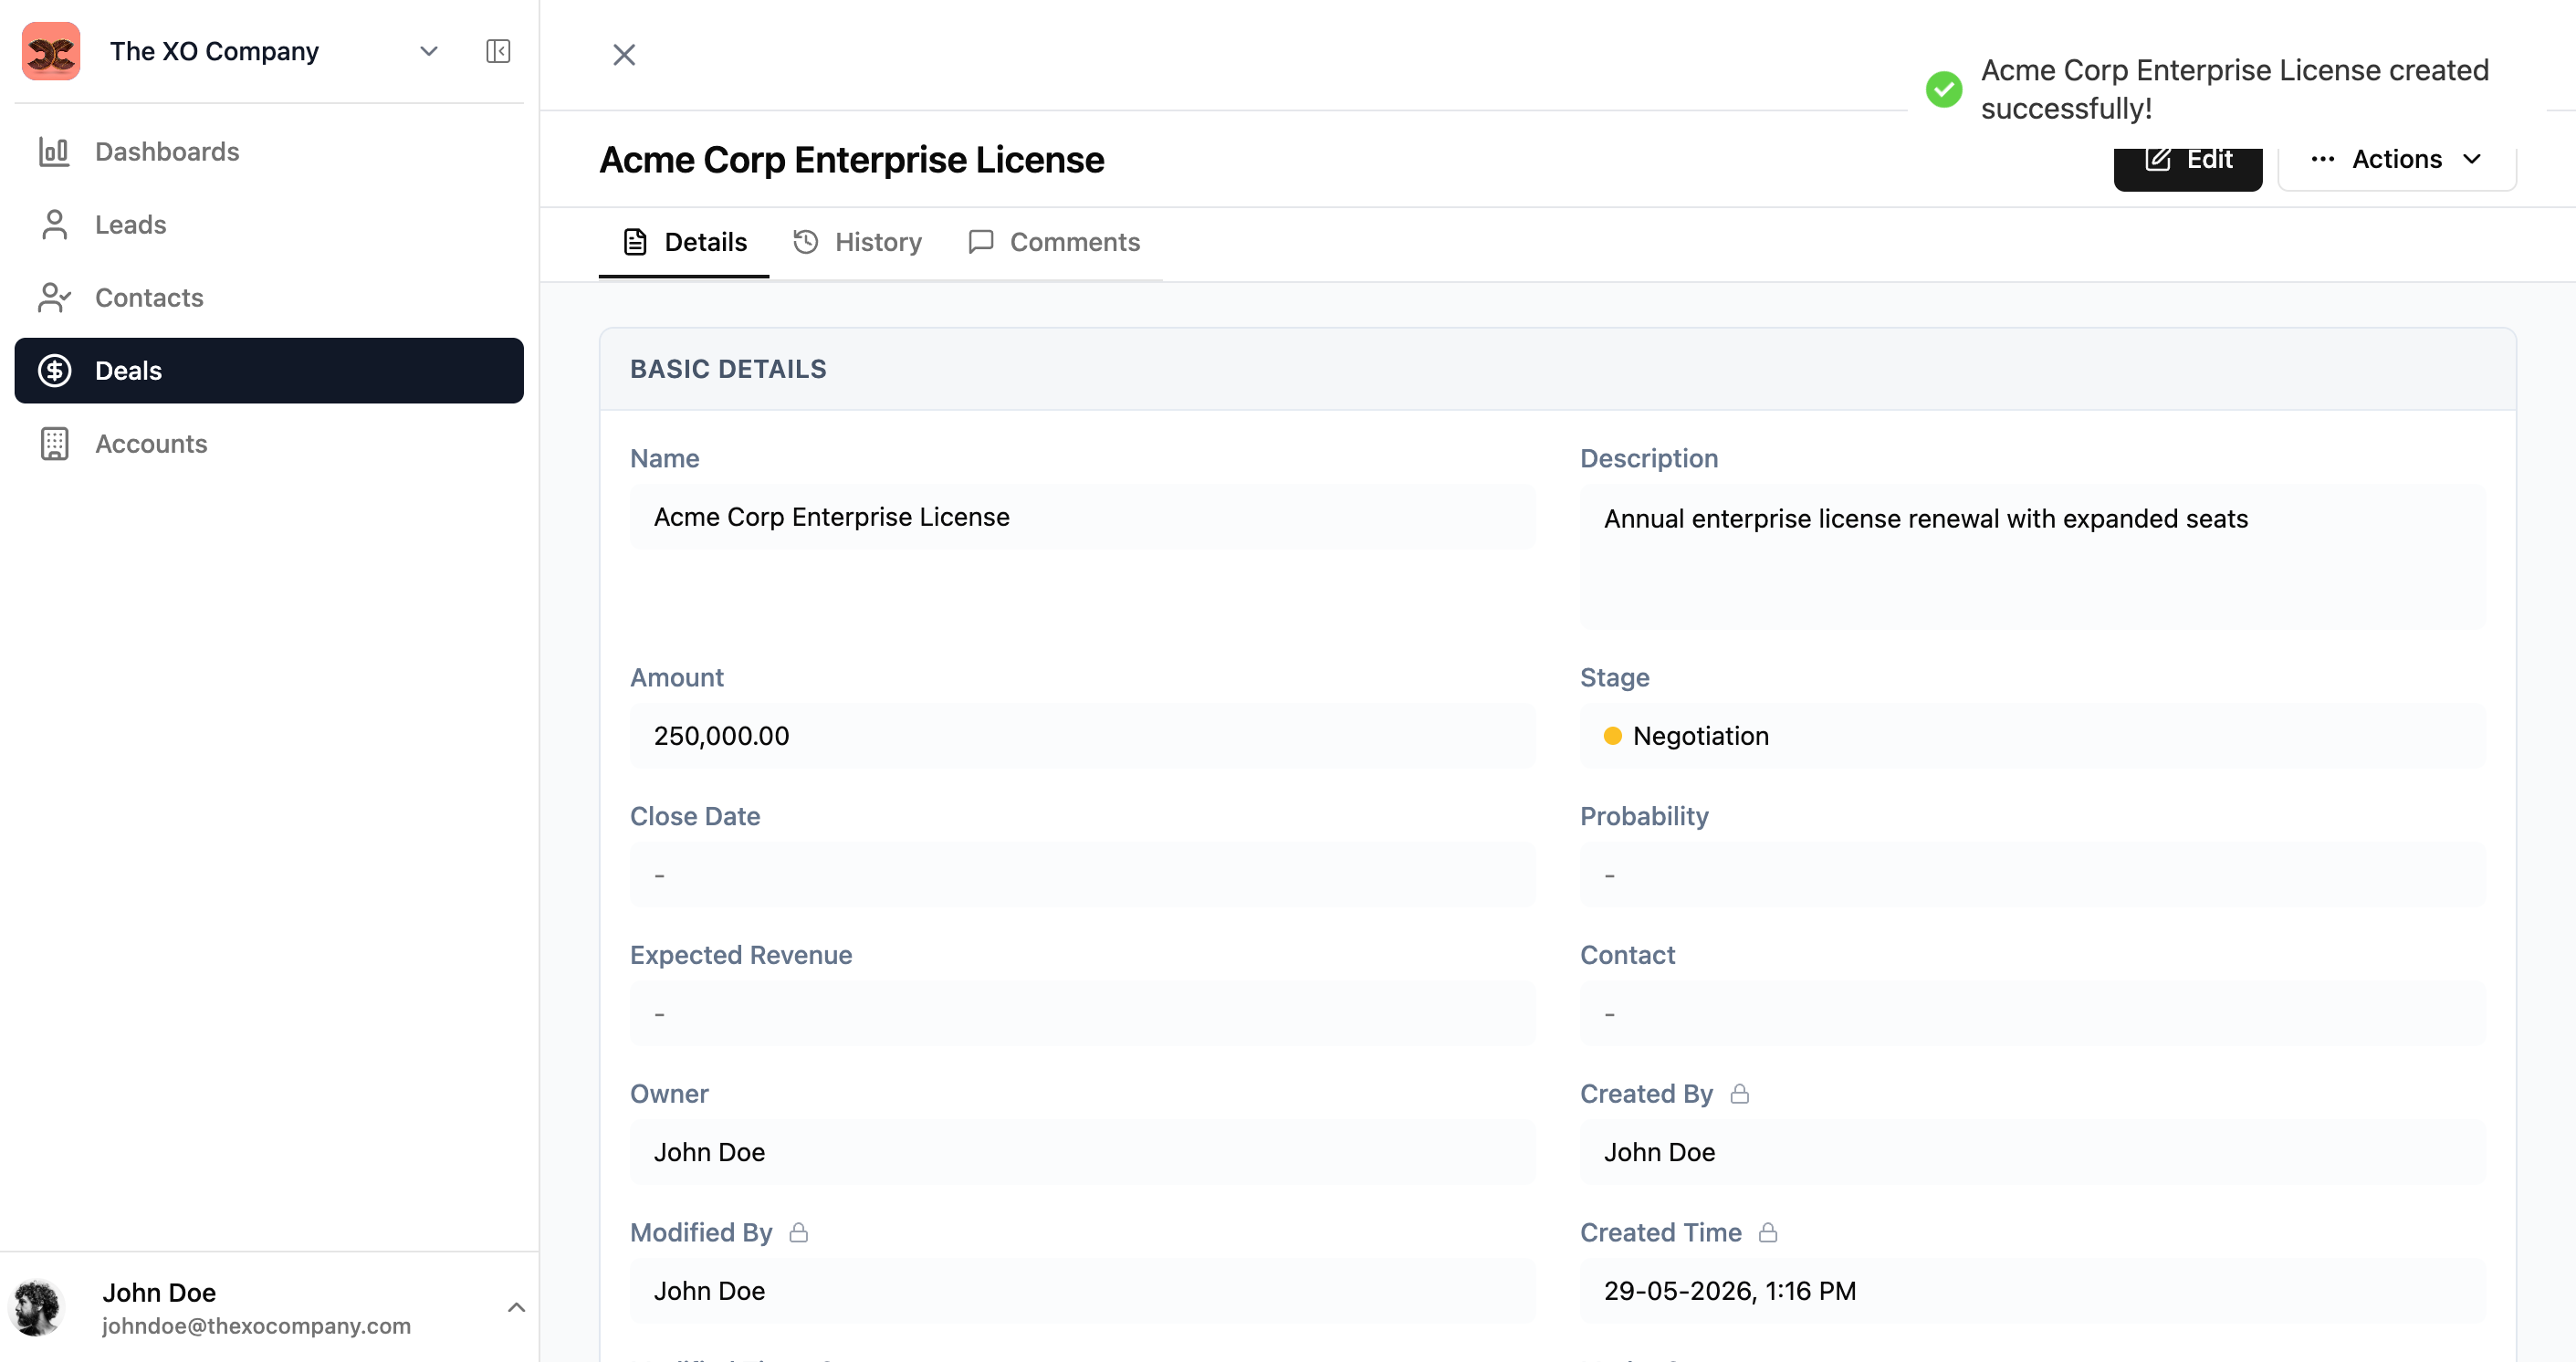
See all record details, history, and comments in the detail view.
Edit
Update field values on existing records.
Clone
Duplicate a record with all its values pre-filled for quick creation.
Creating a Record
- 1Navigate to the module (e.g., Deals) from the sidebar.
- 2Click the Create Deal button in the top-right.
- 3Fill in the required and optional fields.
- 4Click Create to save the record.
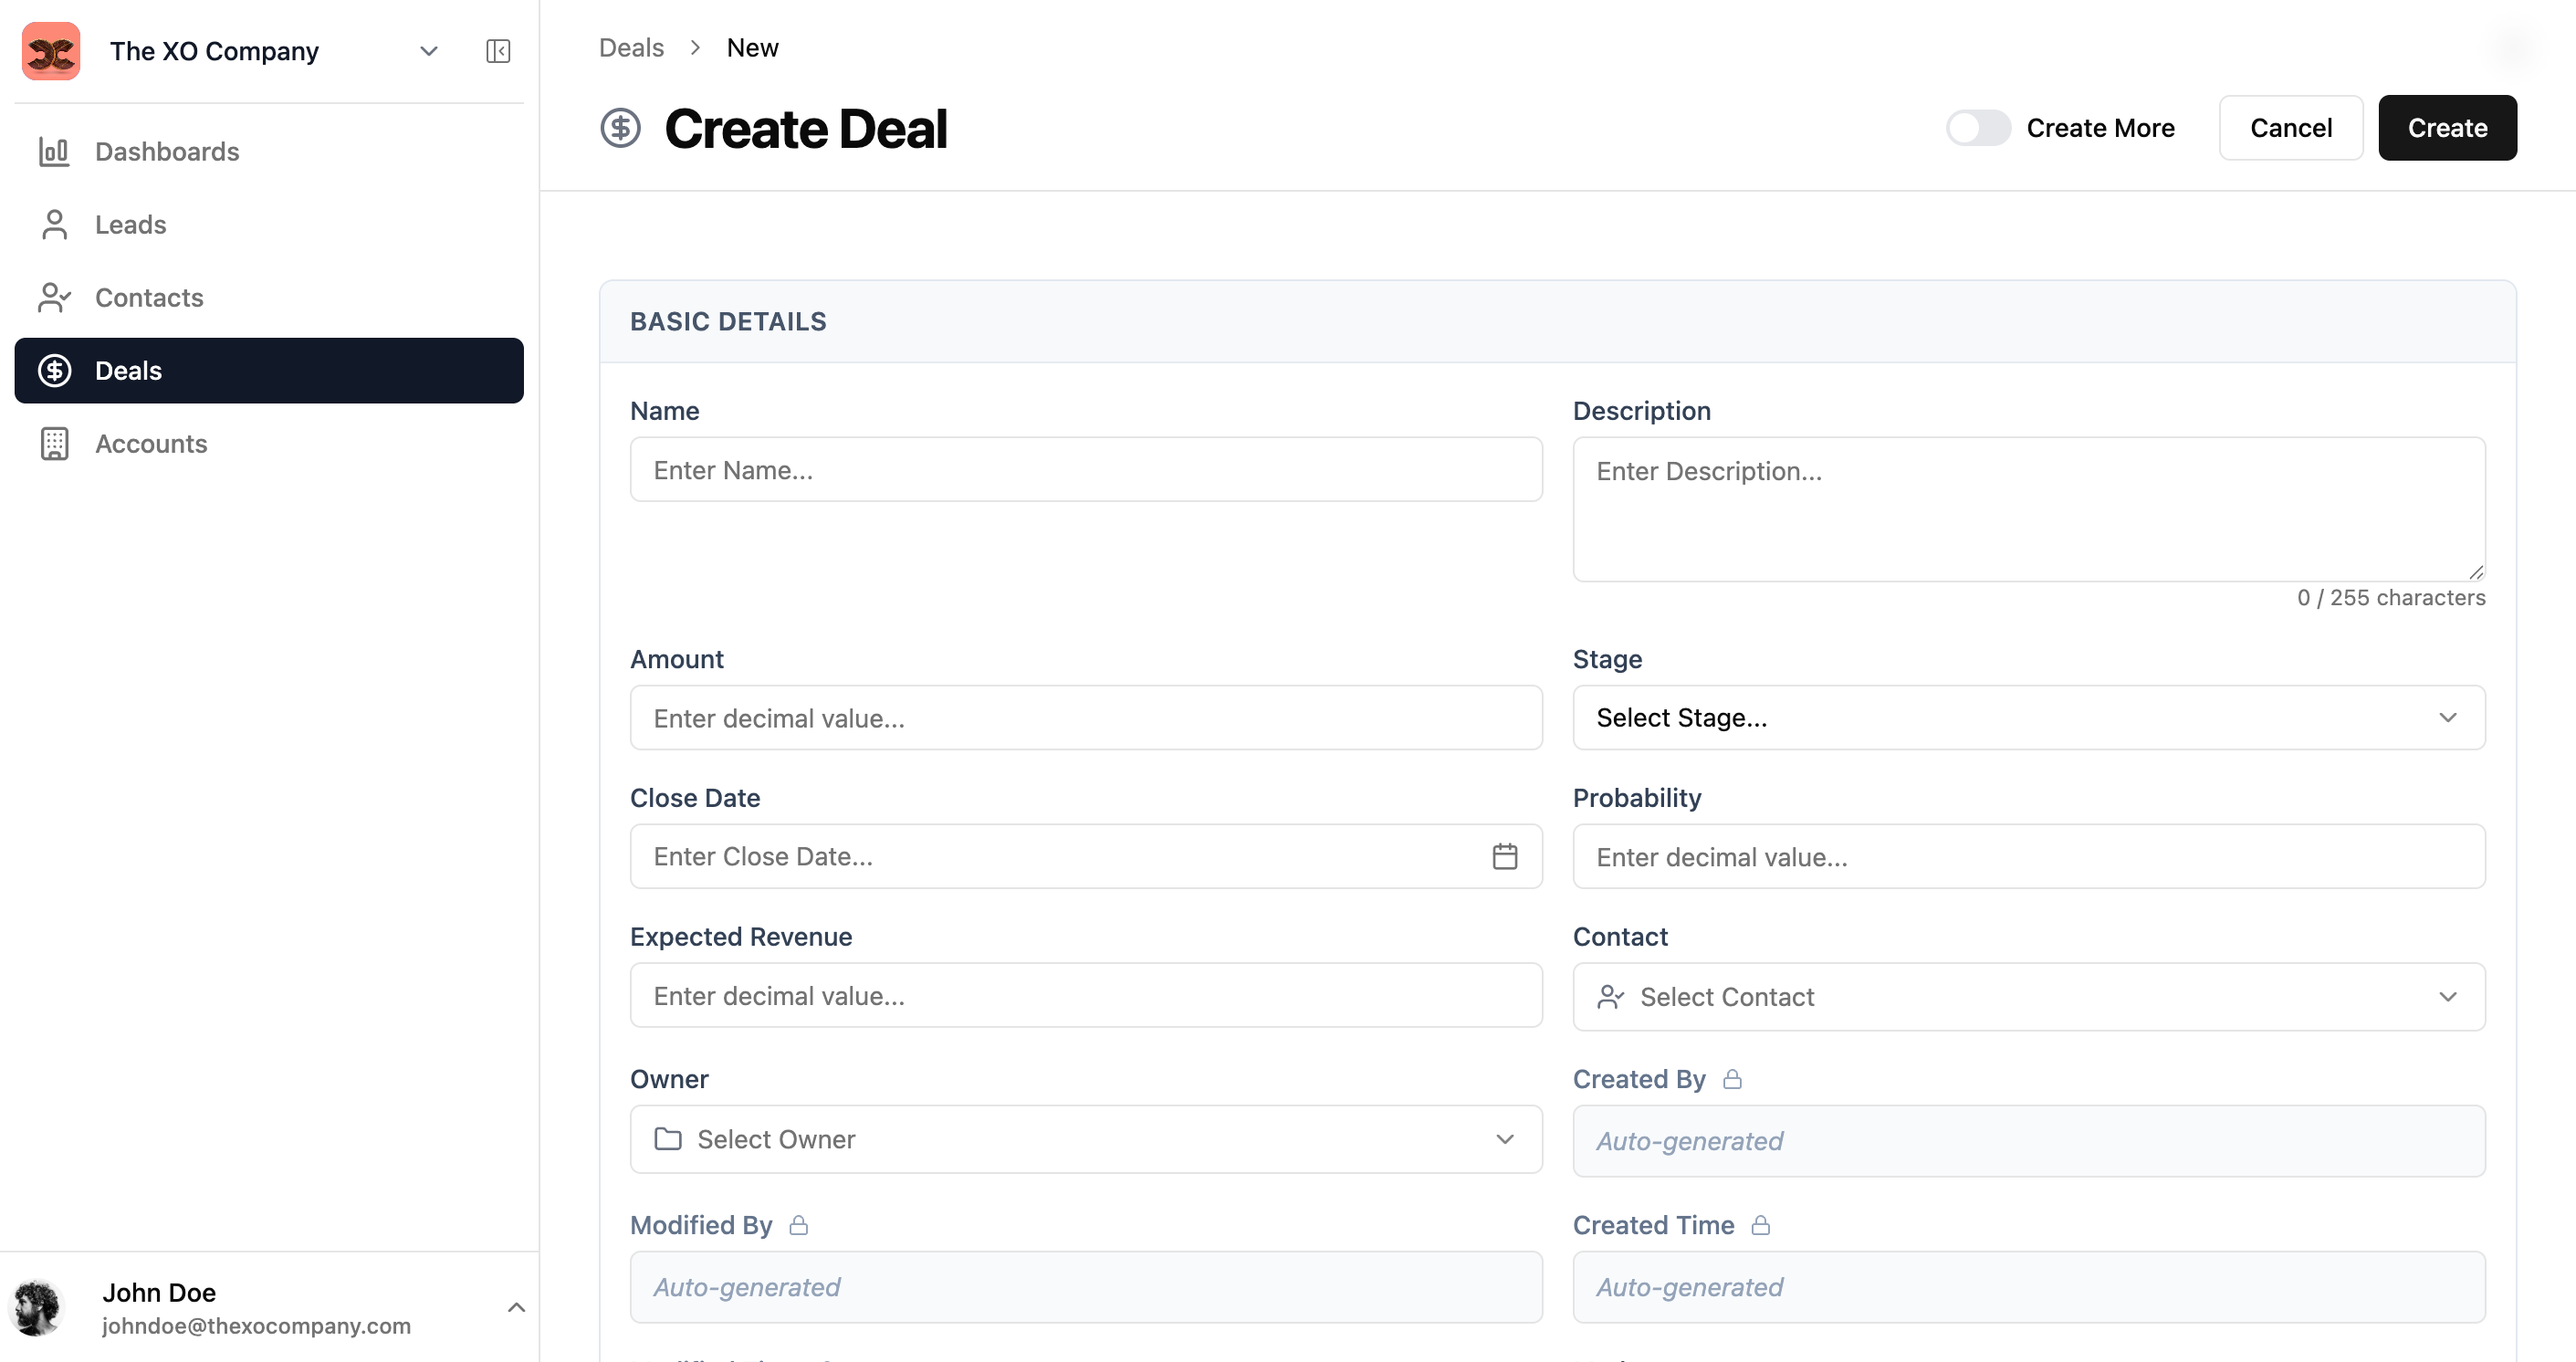
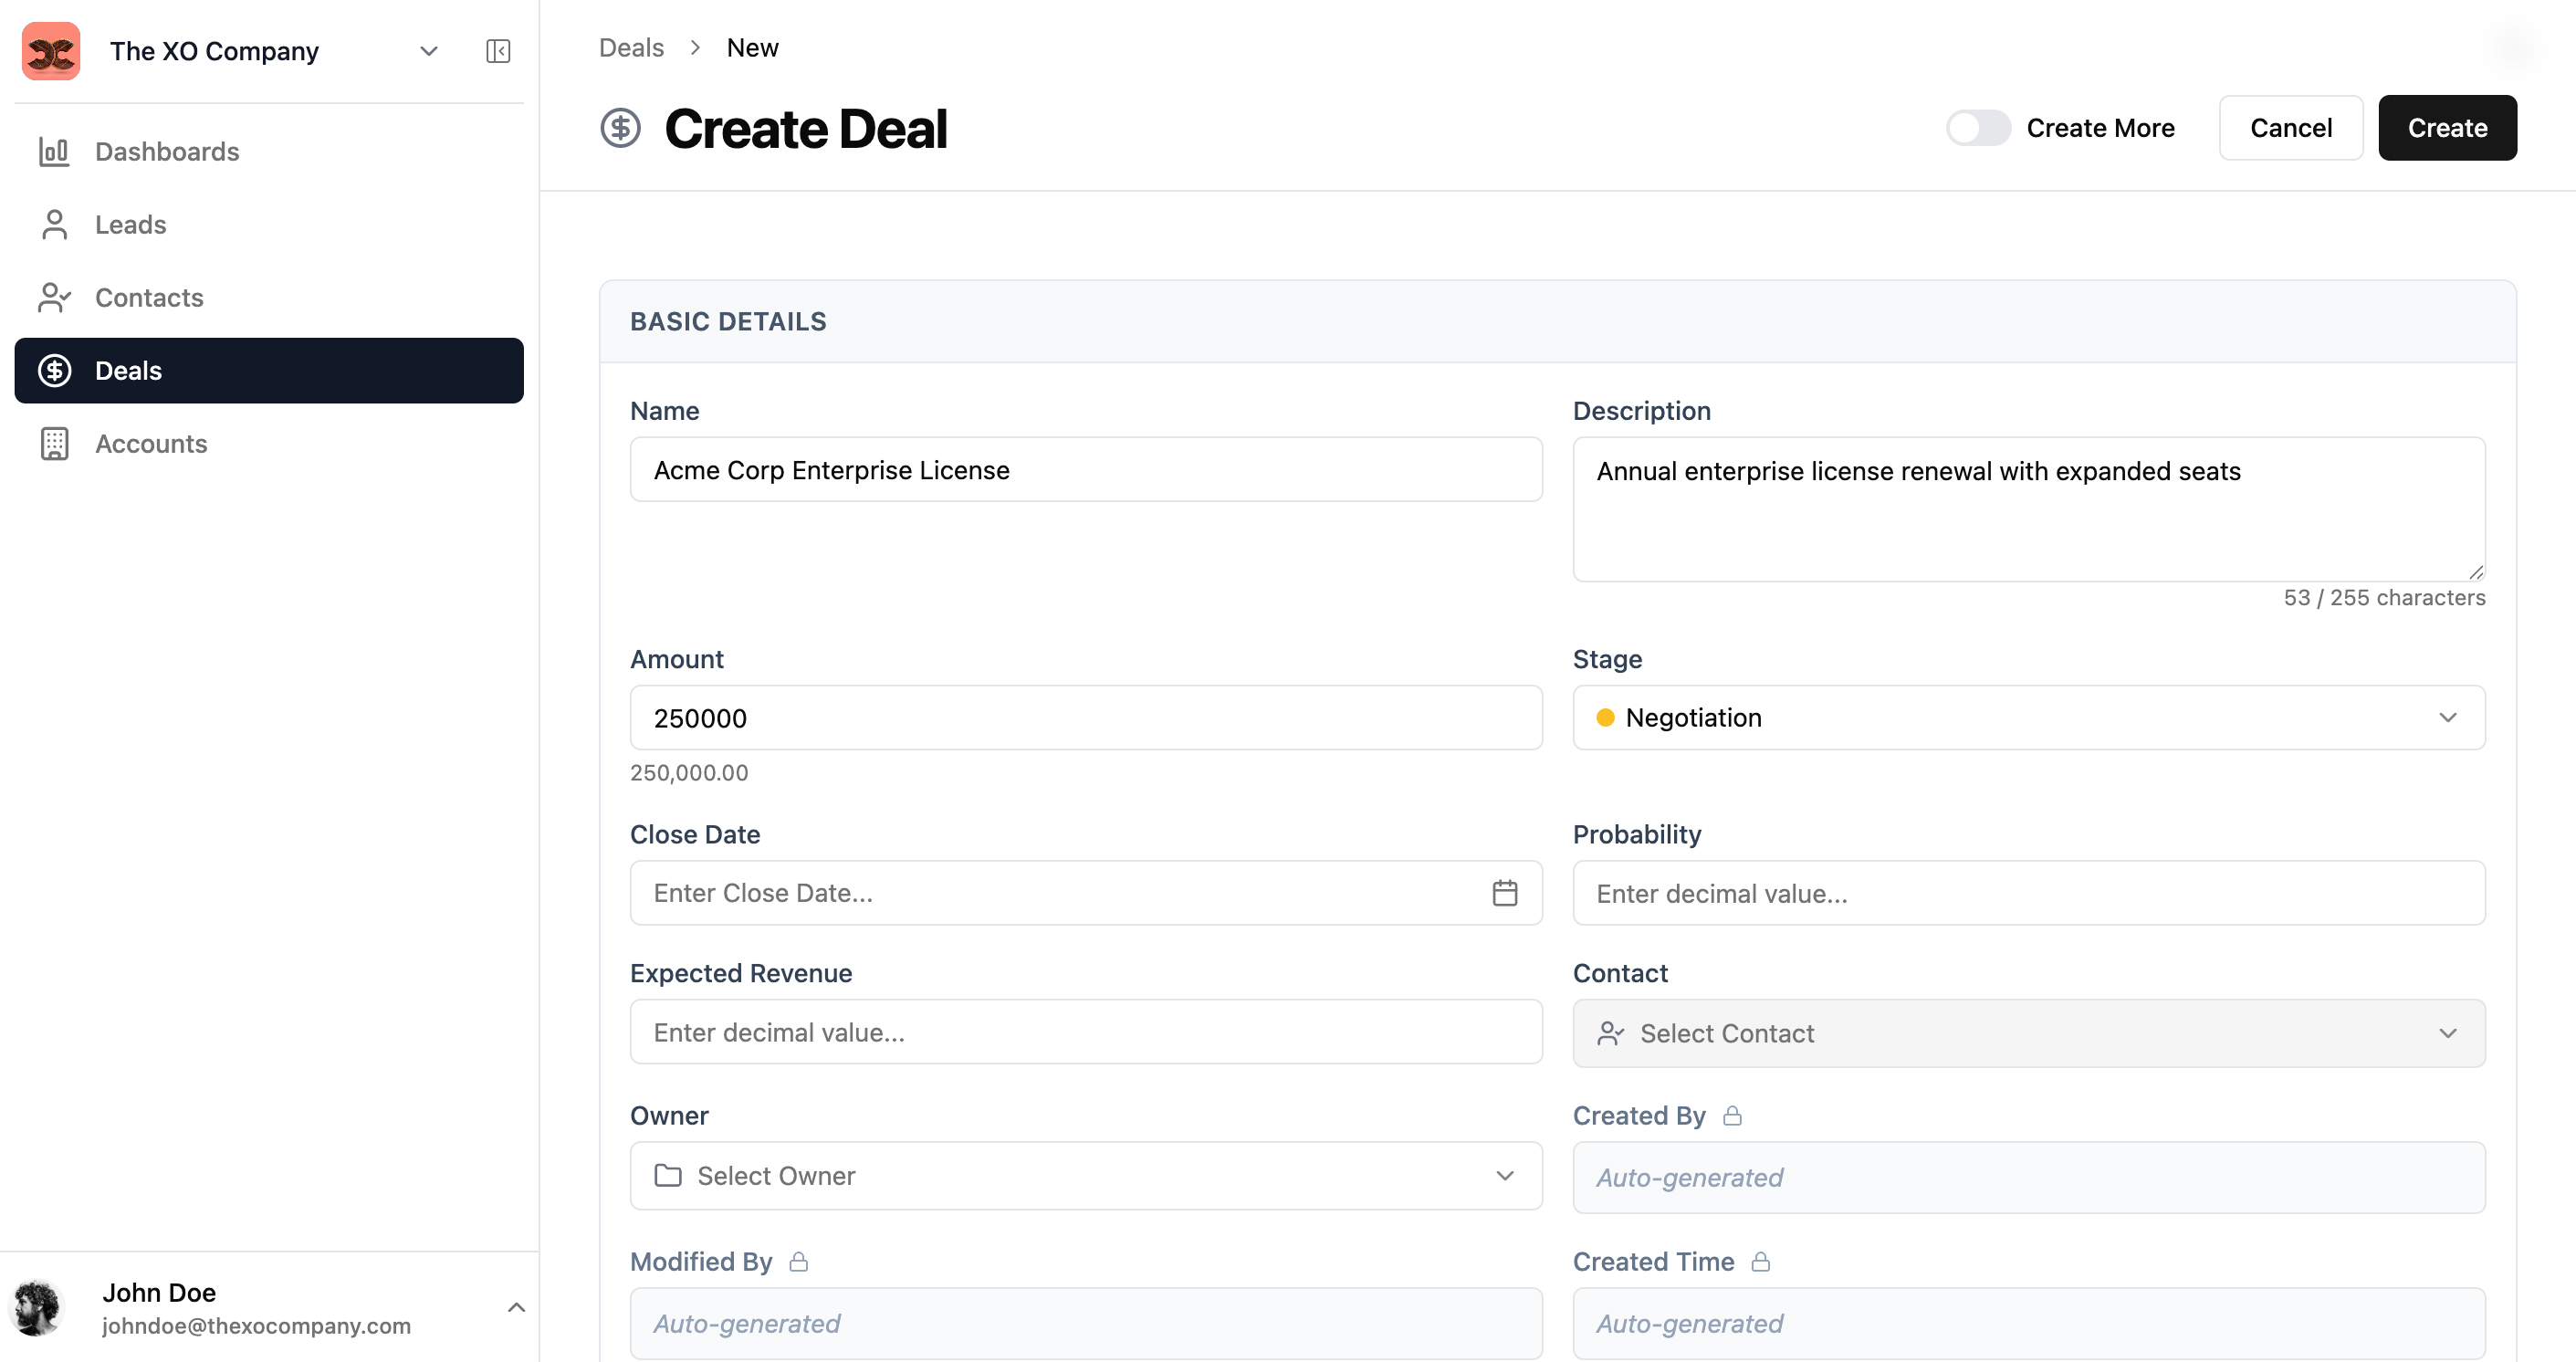
️ Toggle Create More at the top to stay on the form after saving, allowing you to quickly create multiple records in succession.
Record Detail View
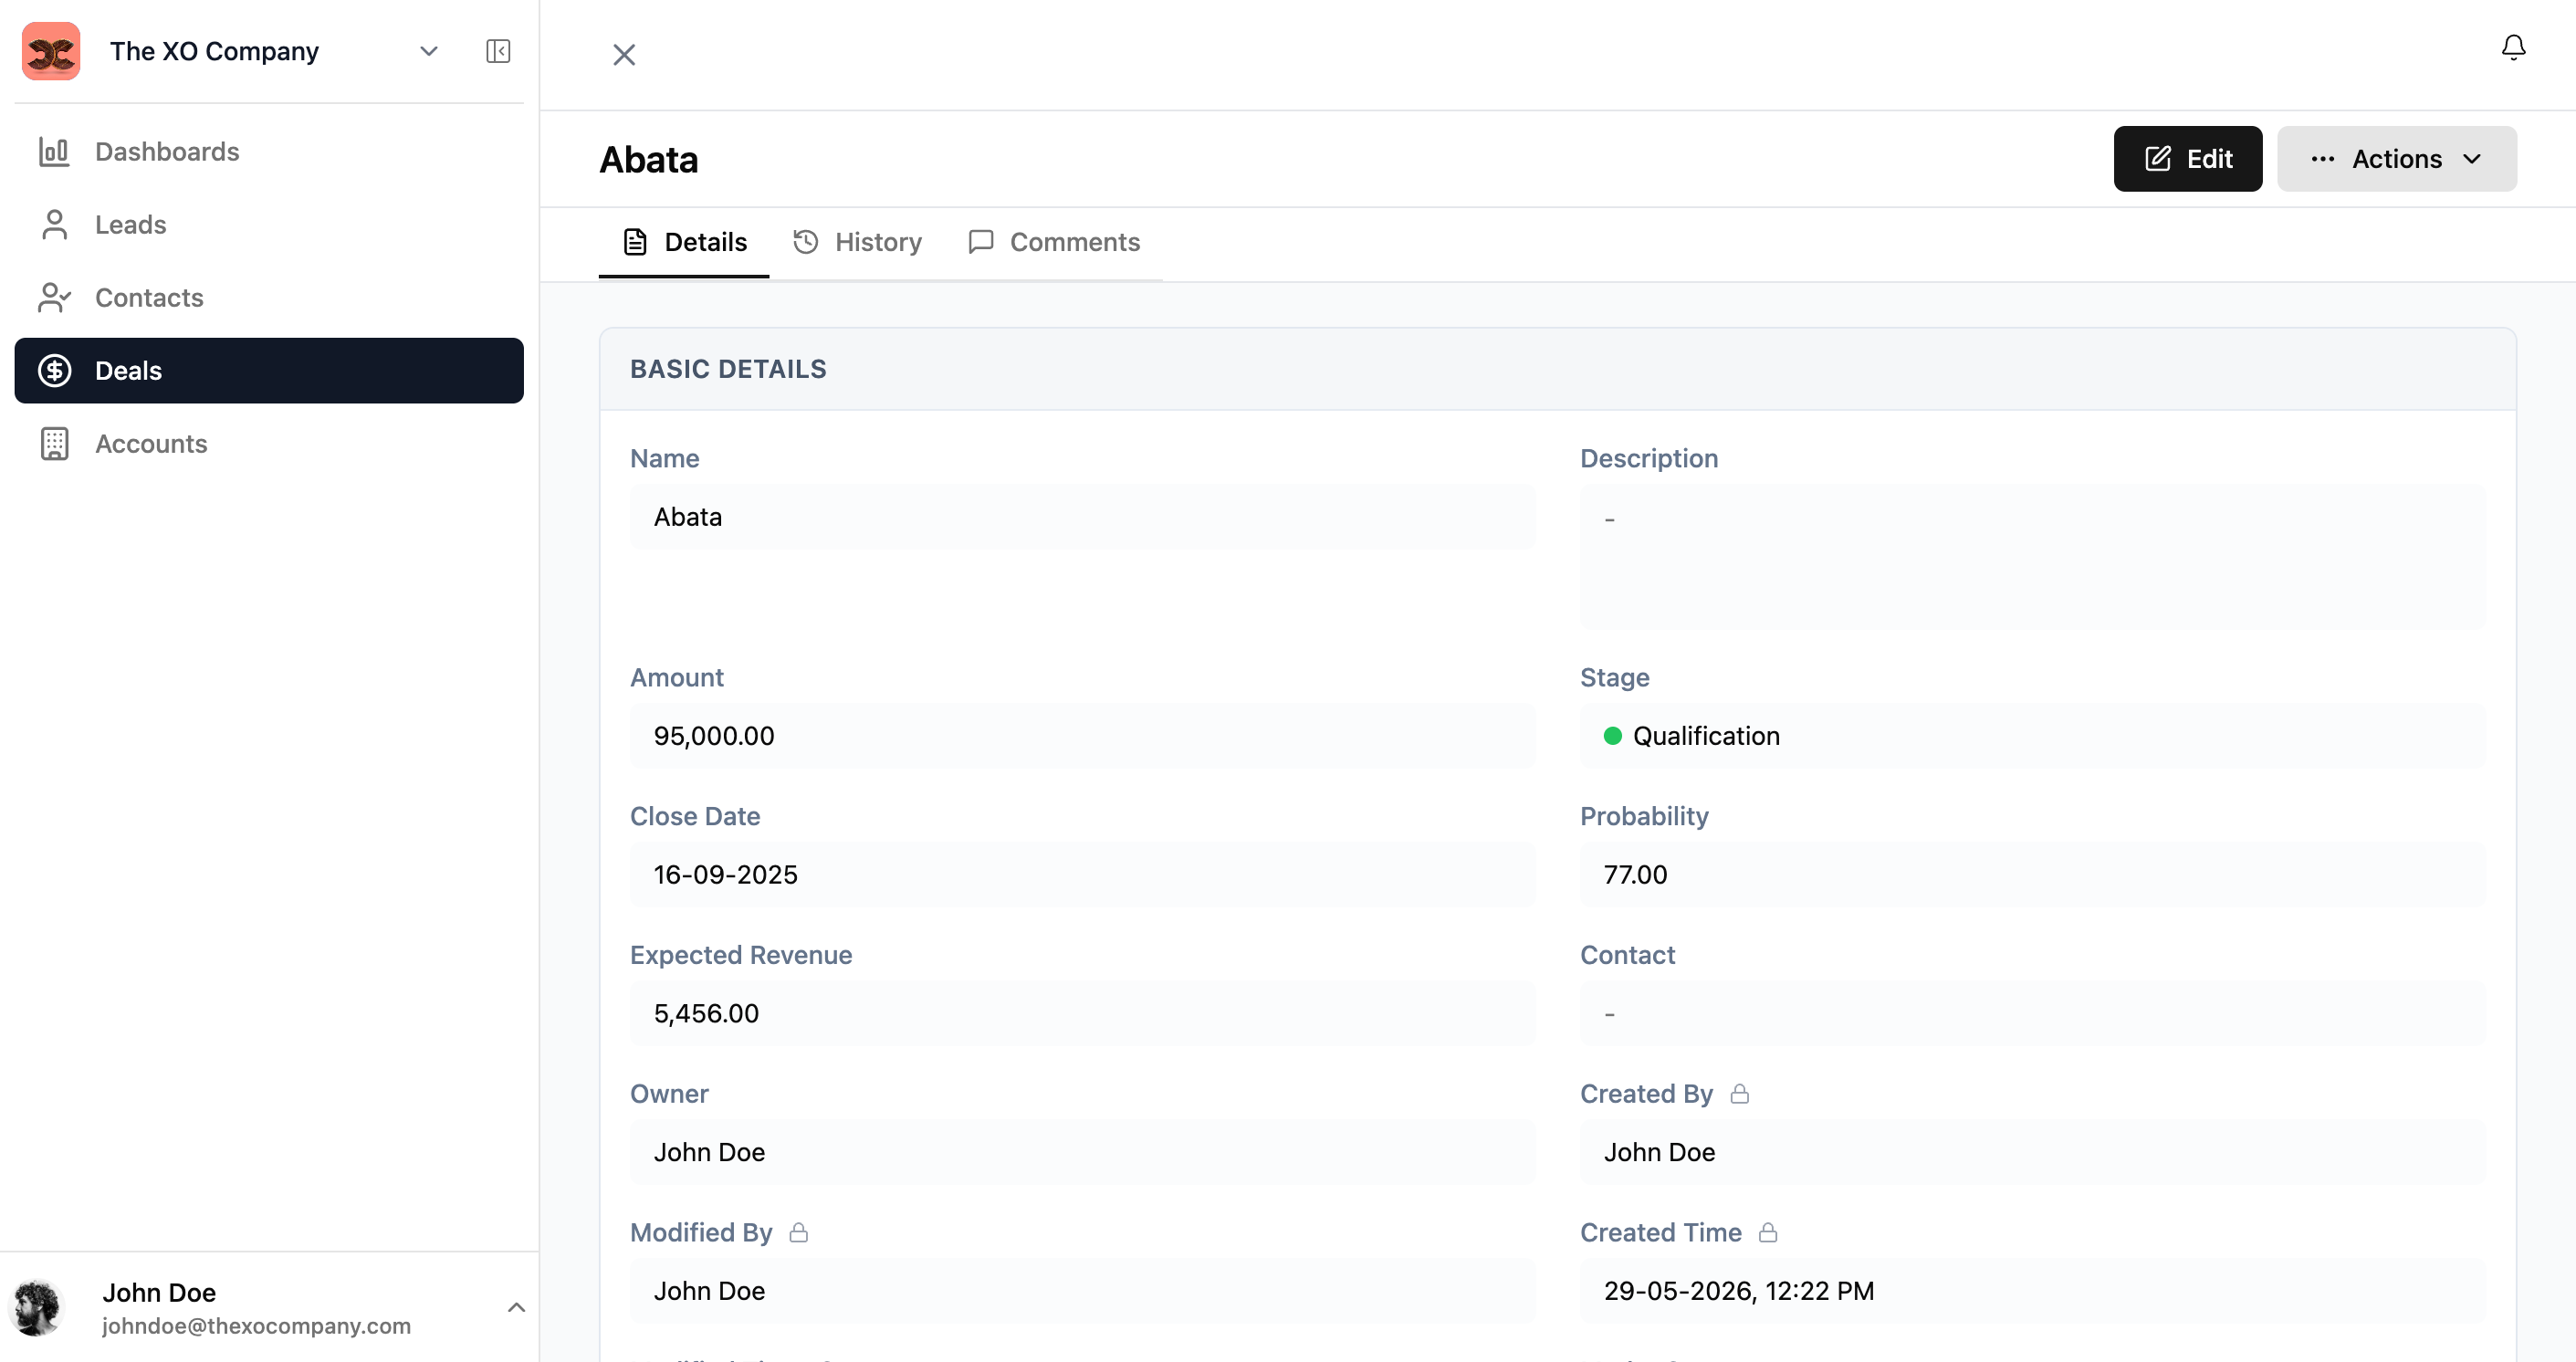
After creating or clicking on a record, you'll see the detail view. This shows all field values organized by section, along with tabs for additional context.
Tabs
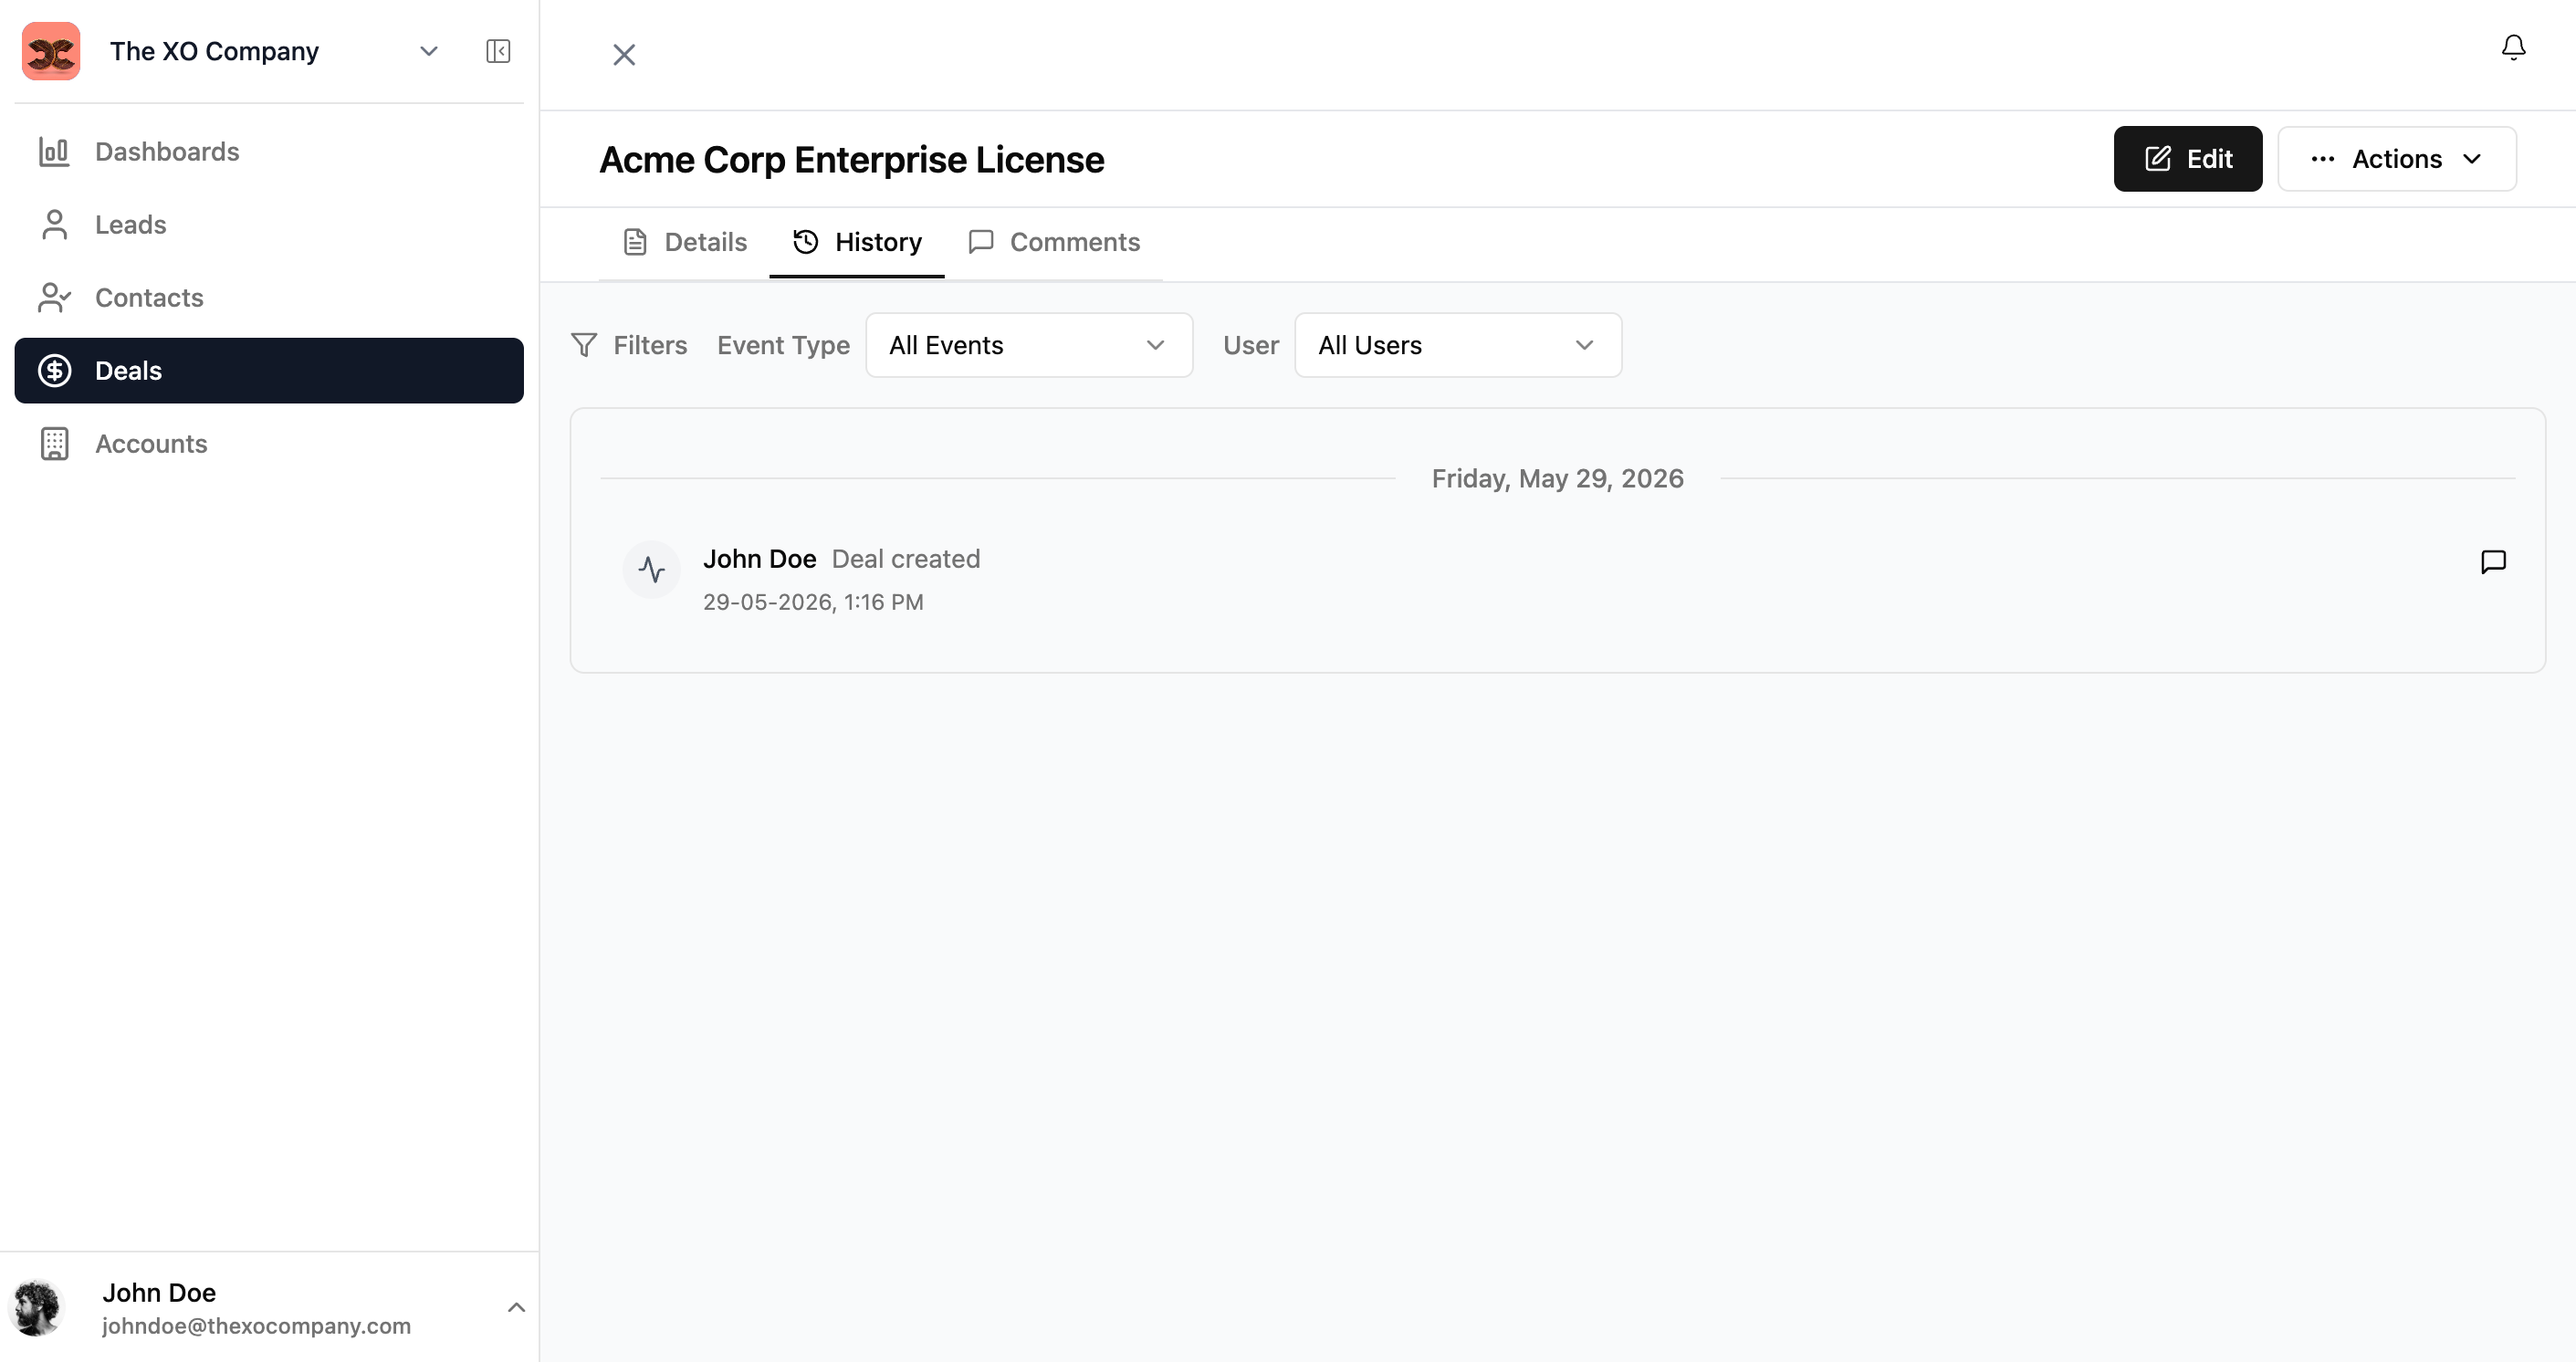
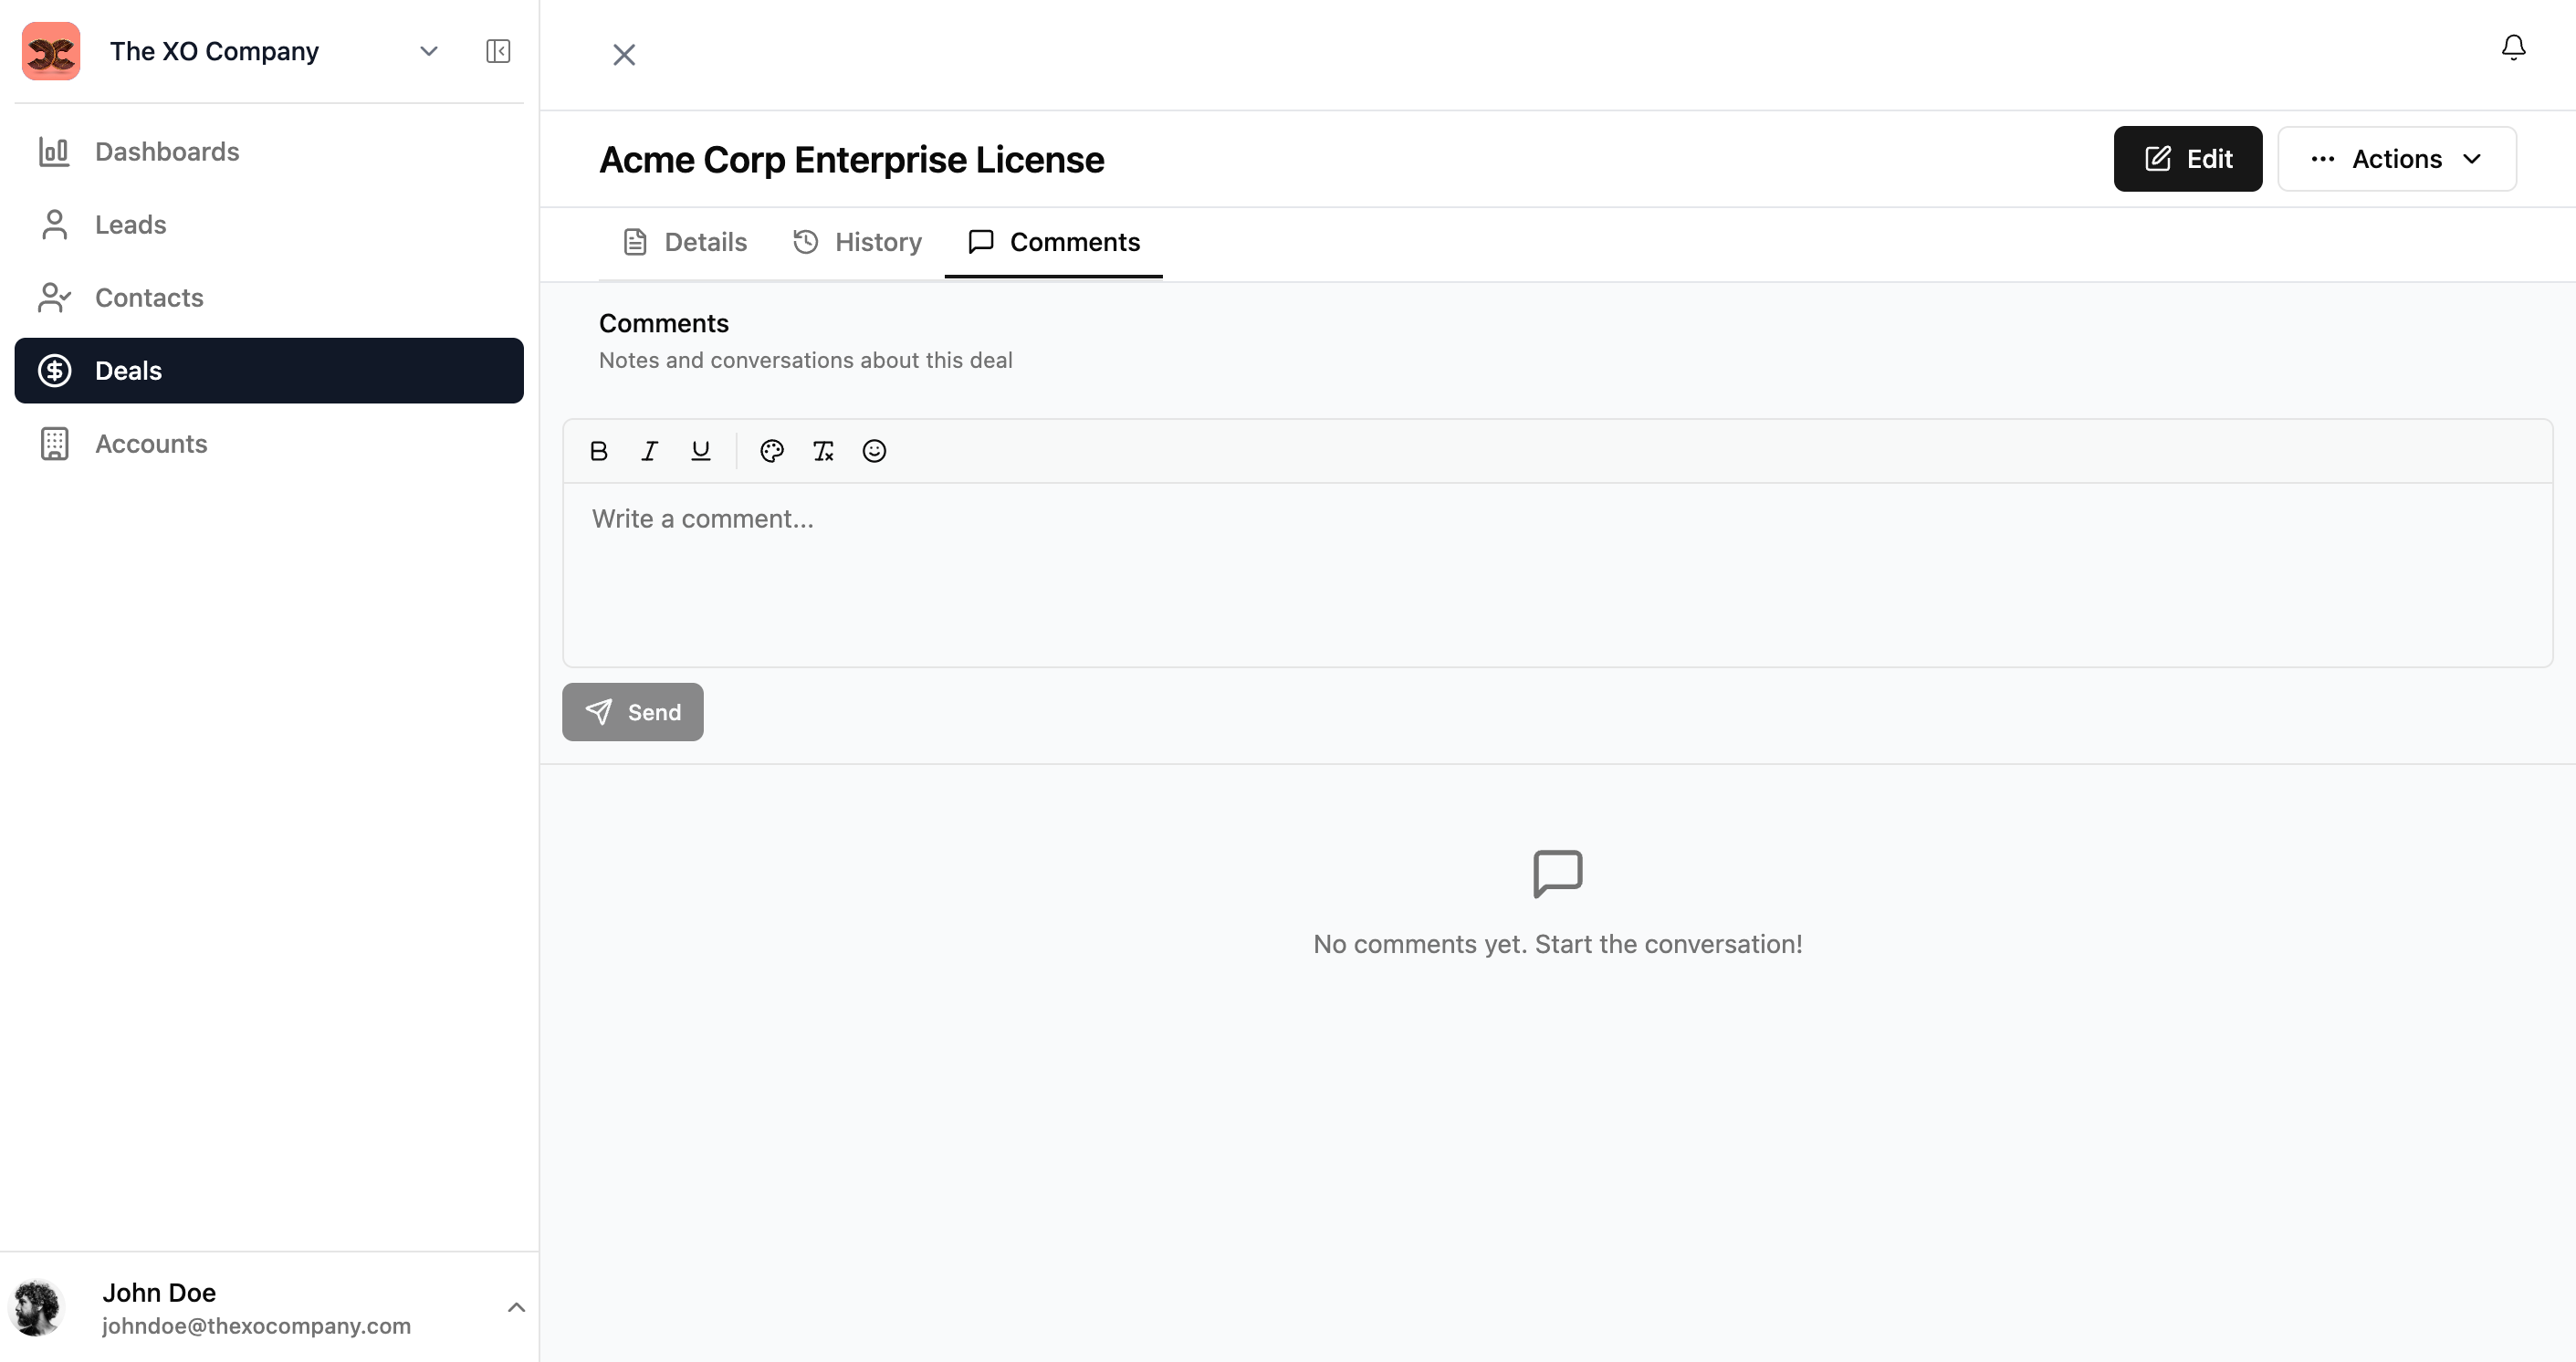
The detail view includes three tabs:
| Tab | Description |
|---|---|
| Details | All field values for the record, organized by section. |
| History | A timeline of all changes made to the record — who changed what and when. |
| Comments | Notes and conversations about the record. Supports rich text and mentions. |
Editing a Record
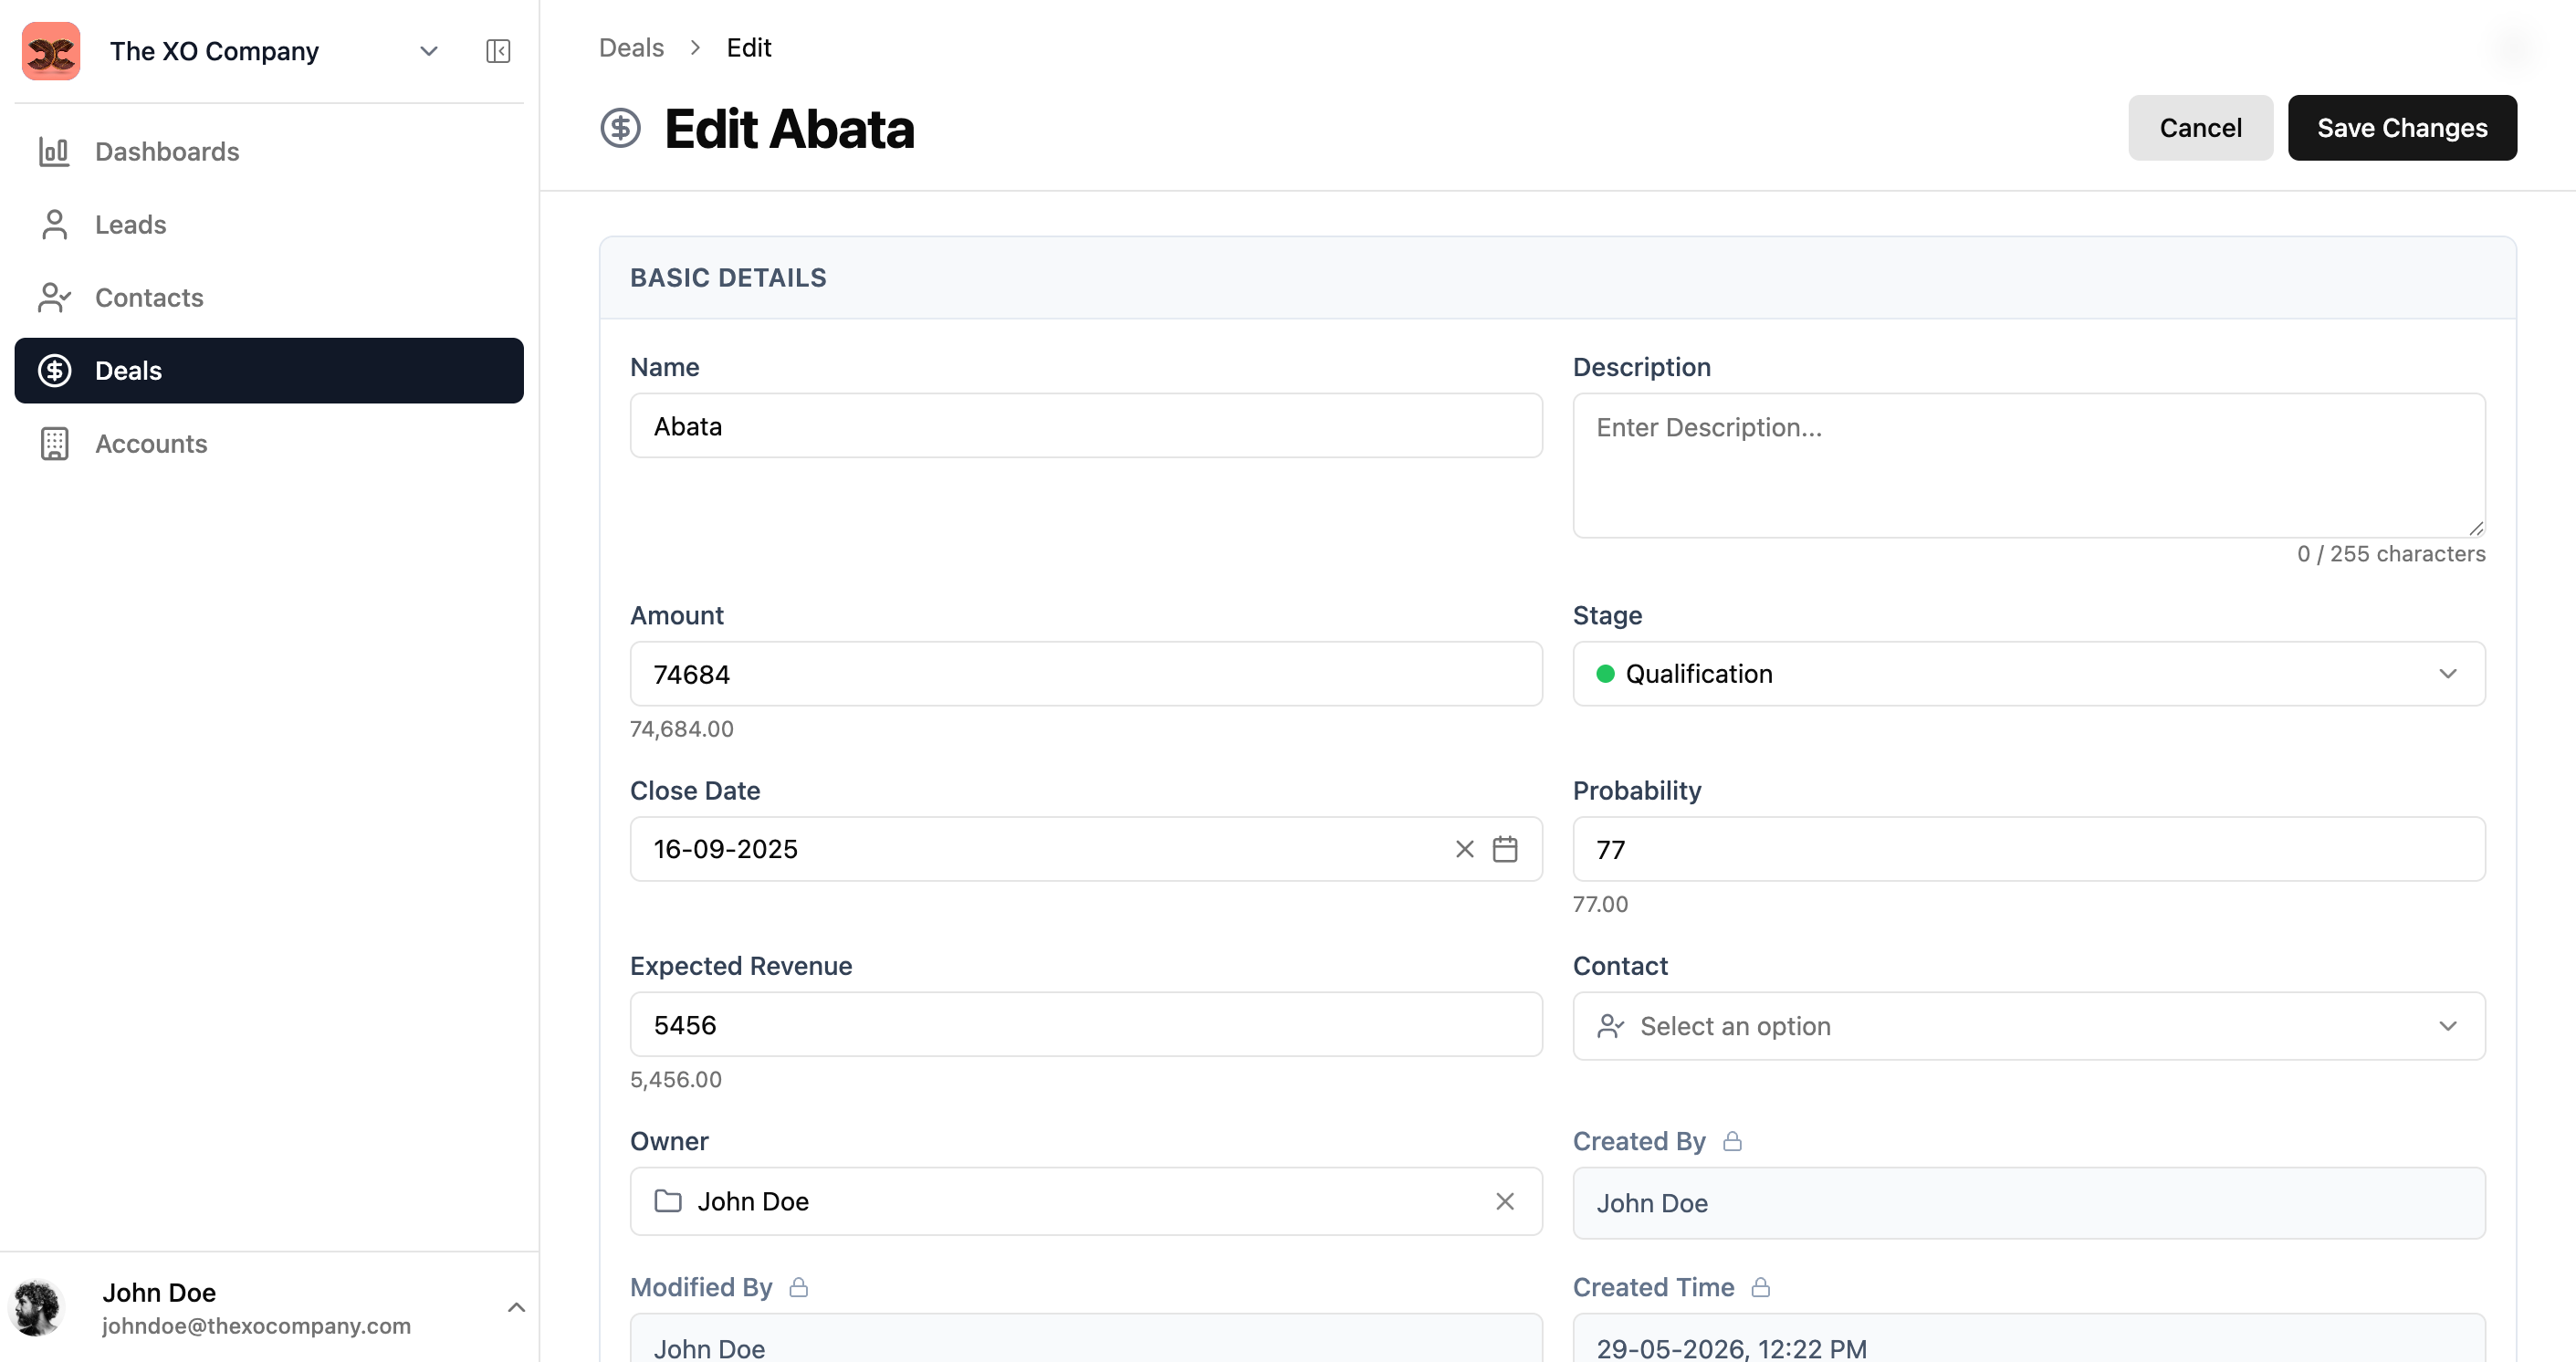
- 1Open the record you want to edit.
- 2Click the Edit button.
- 3Modify the field values as needed.
- 4Click Save Changes to update the record.
Cloning a Record
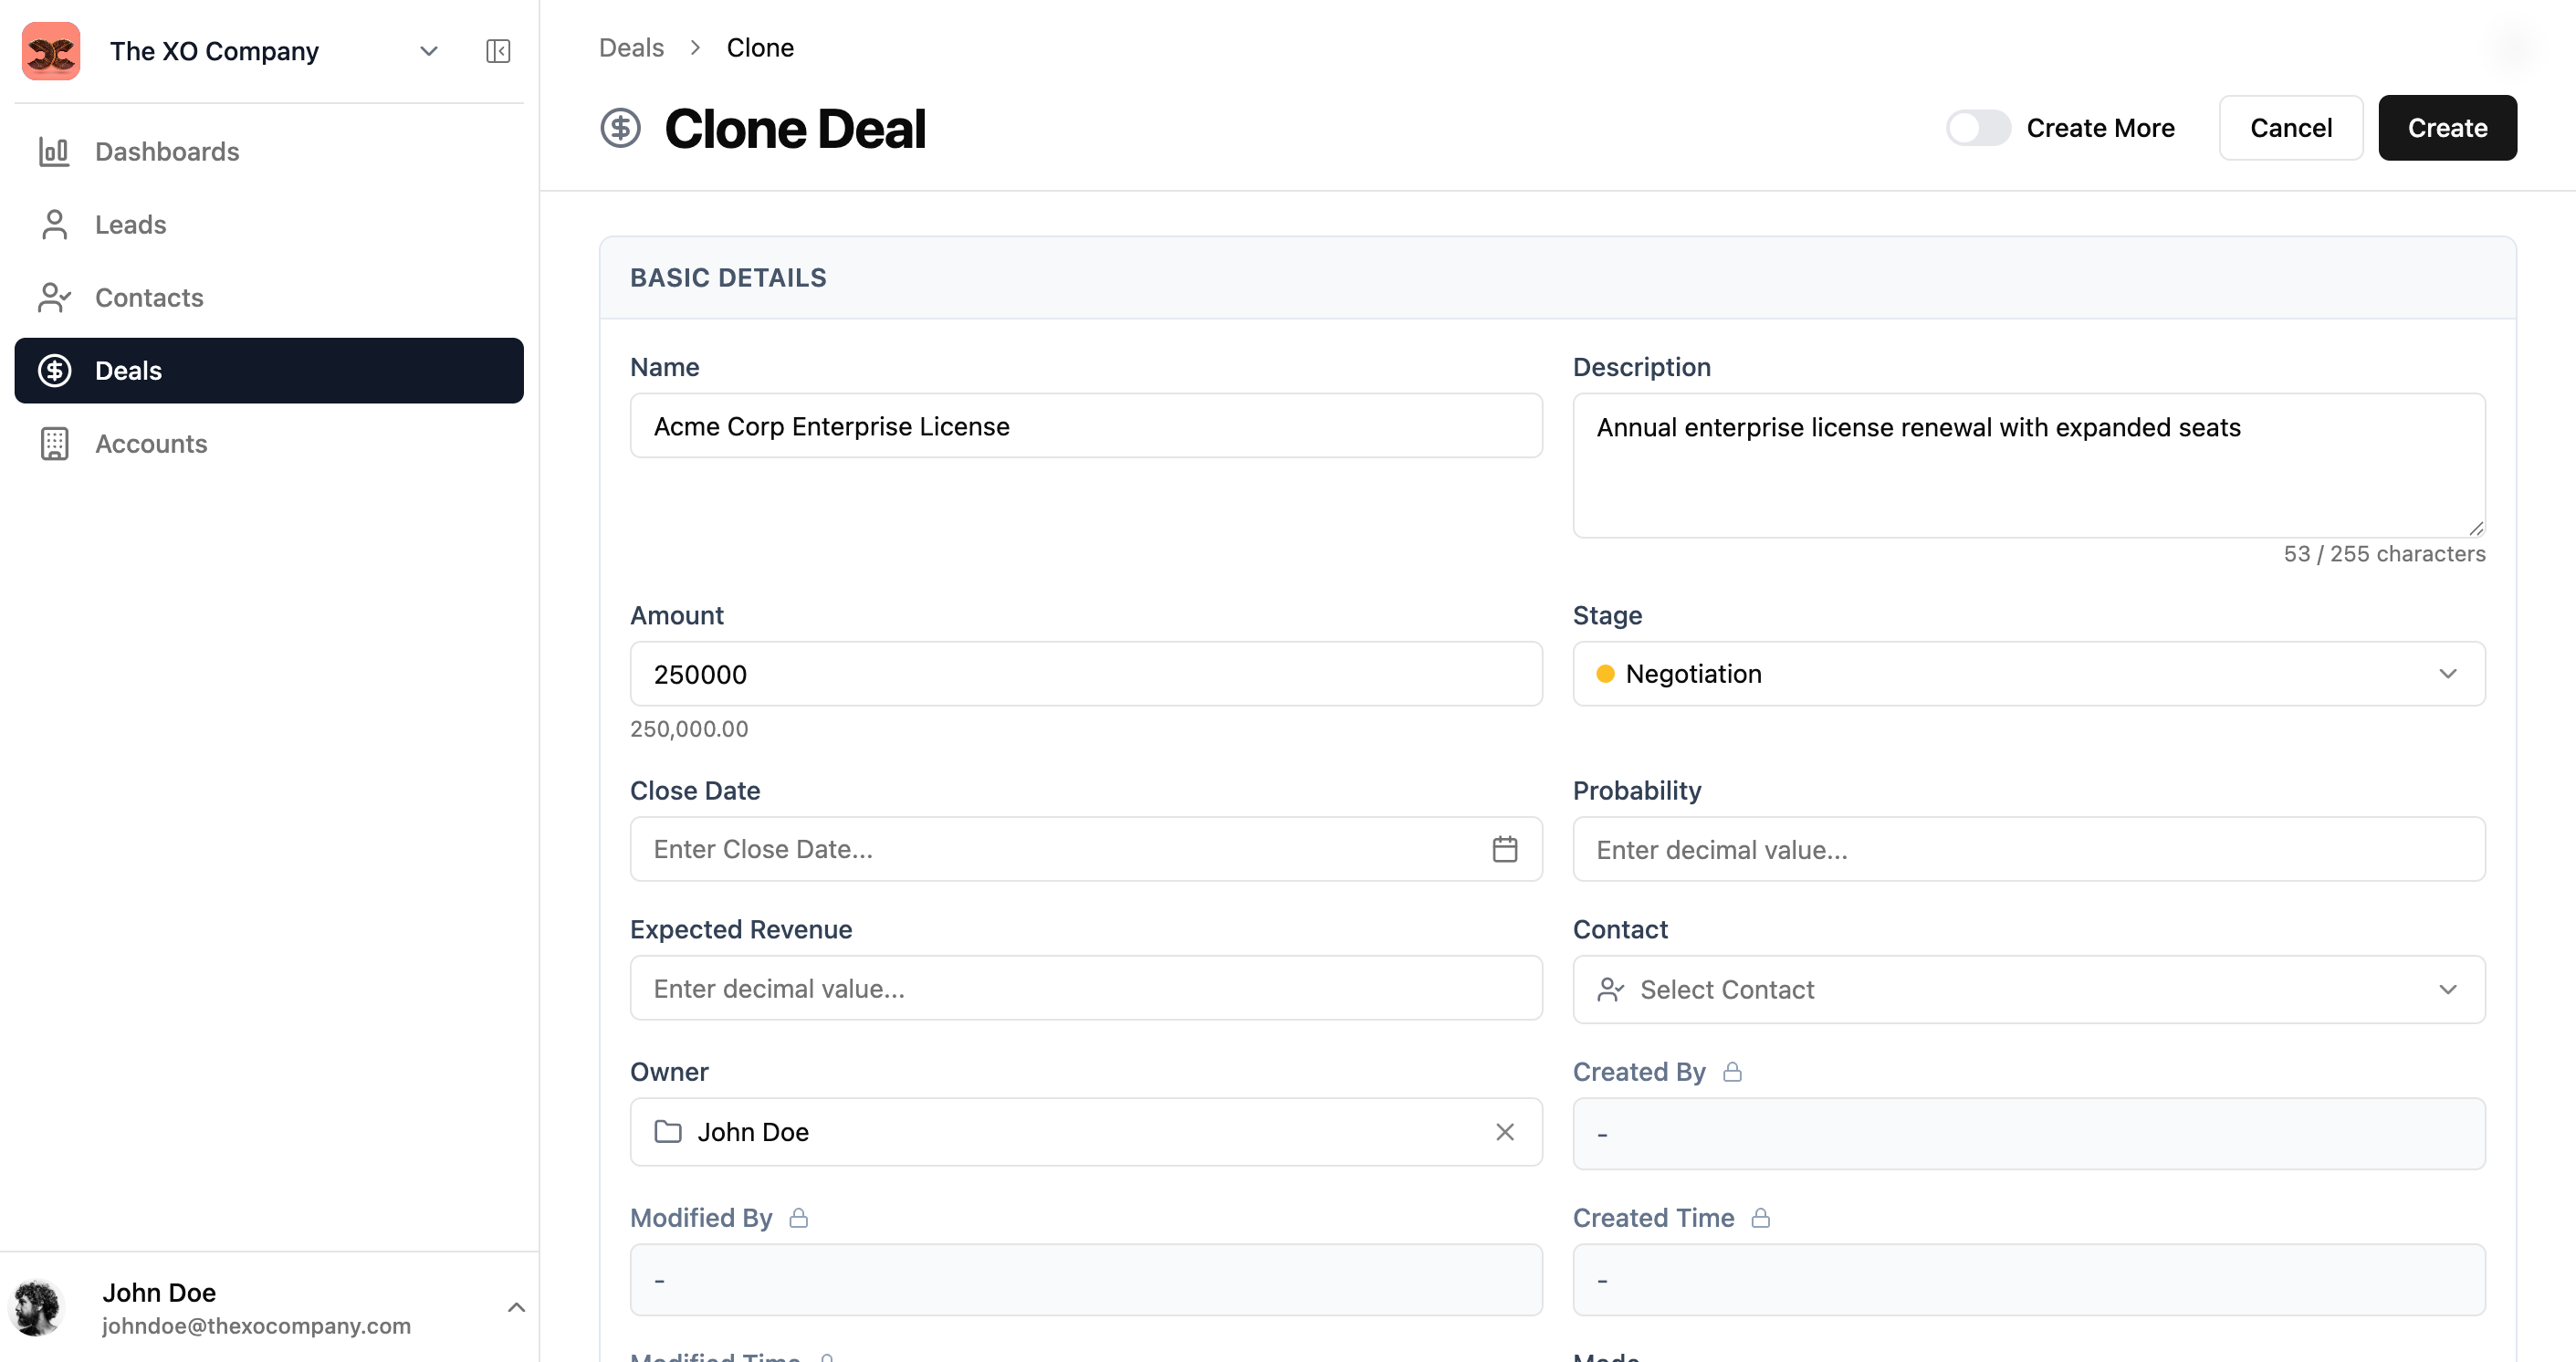
Cloning creates a copy of a record with all field values pre-filled. This is useful when creating similar records without re-entering all the data.
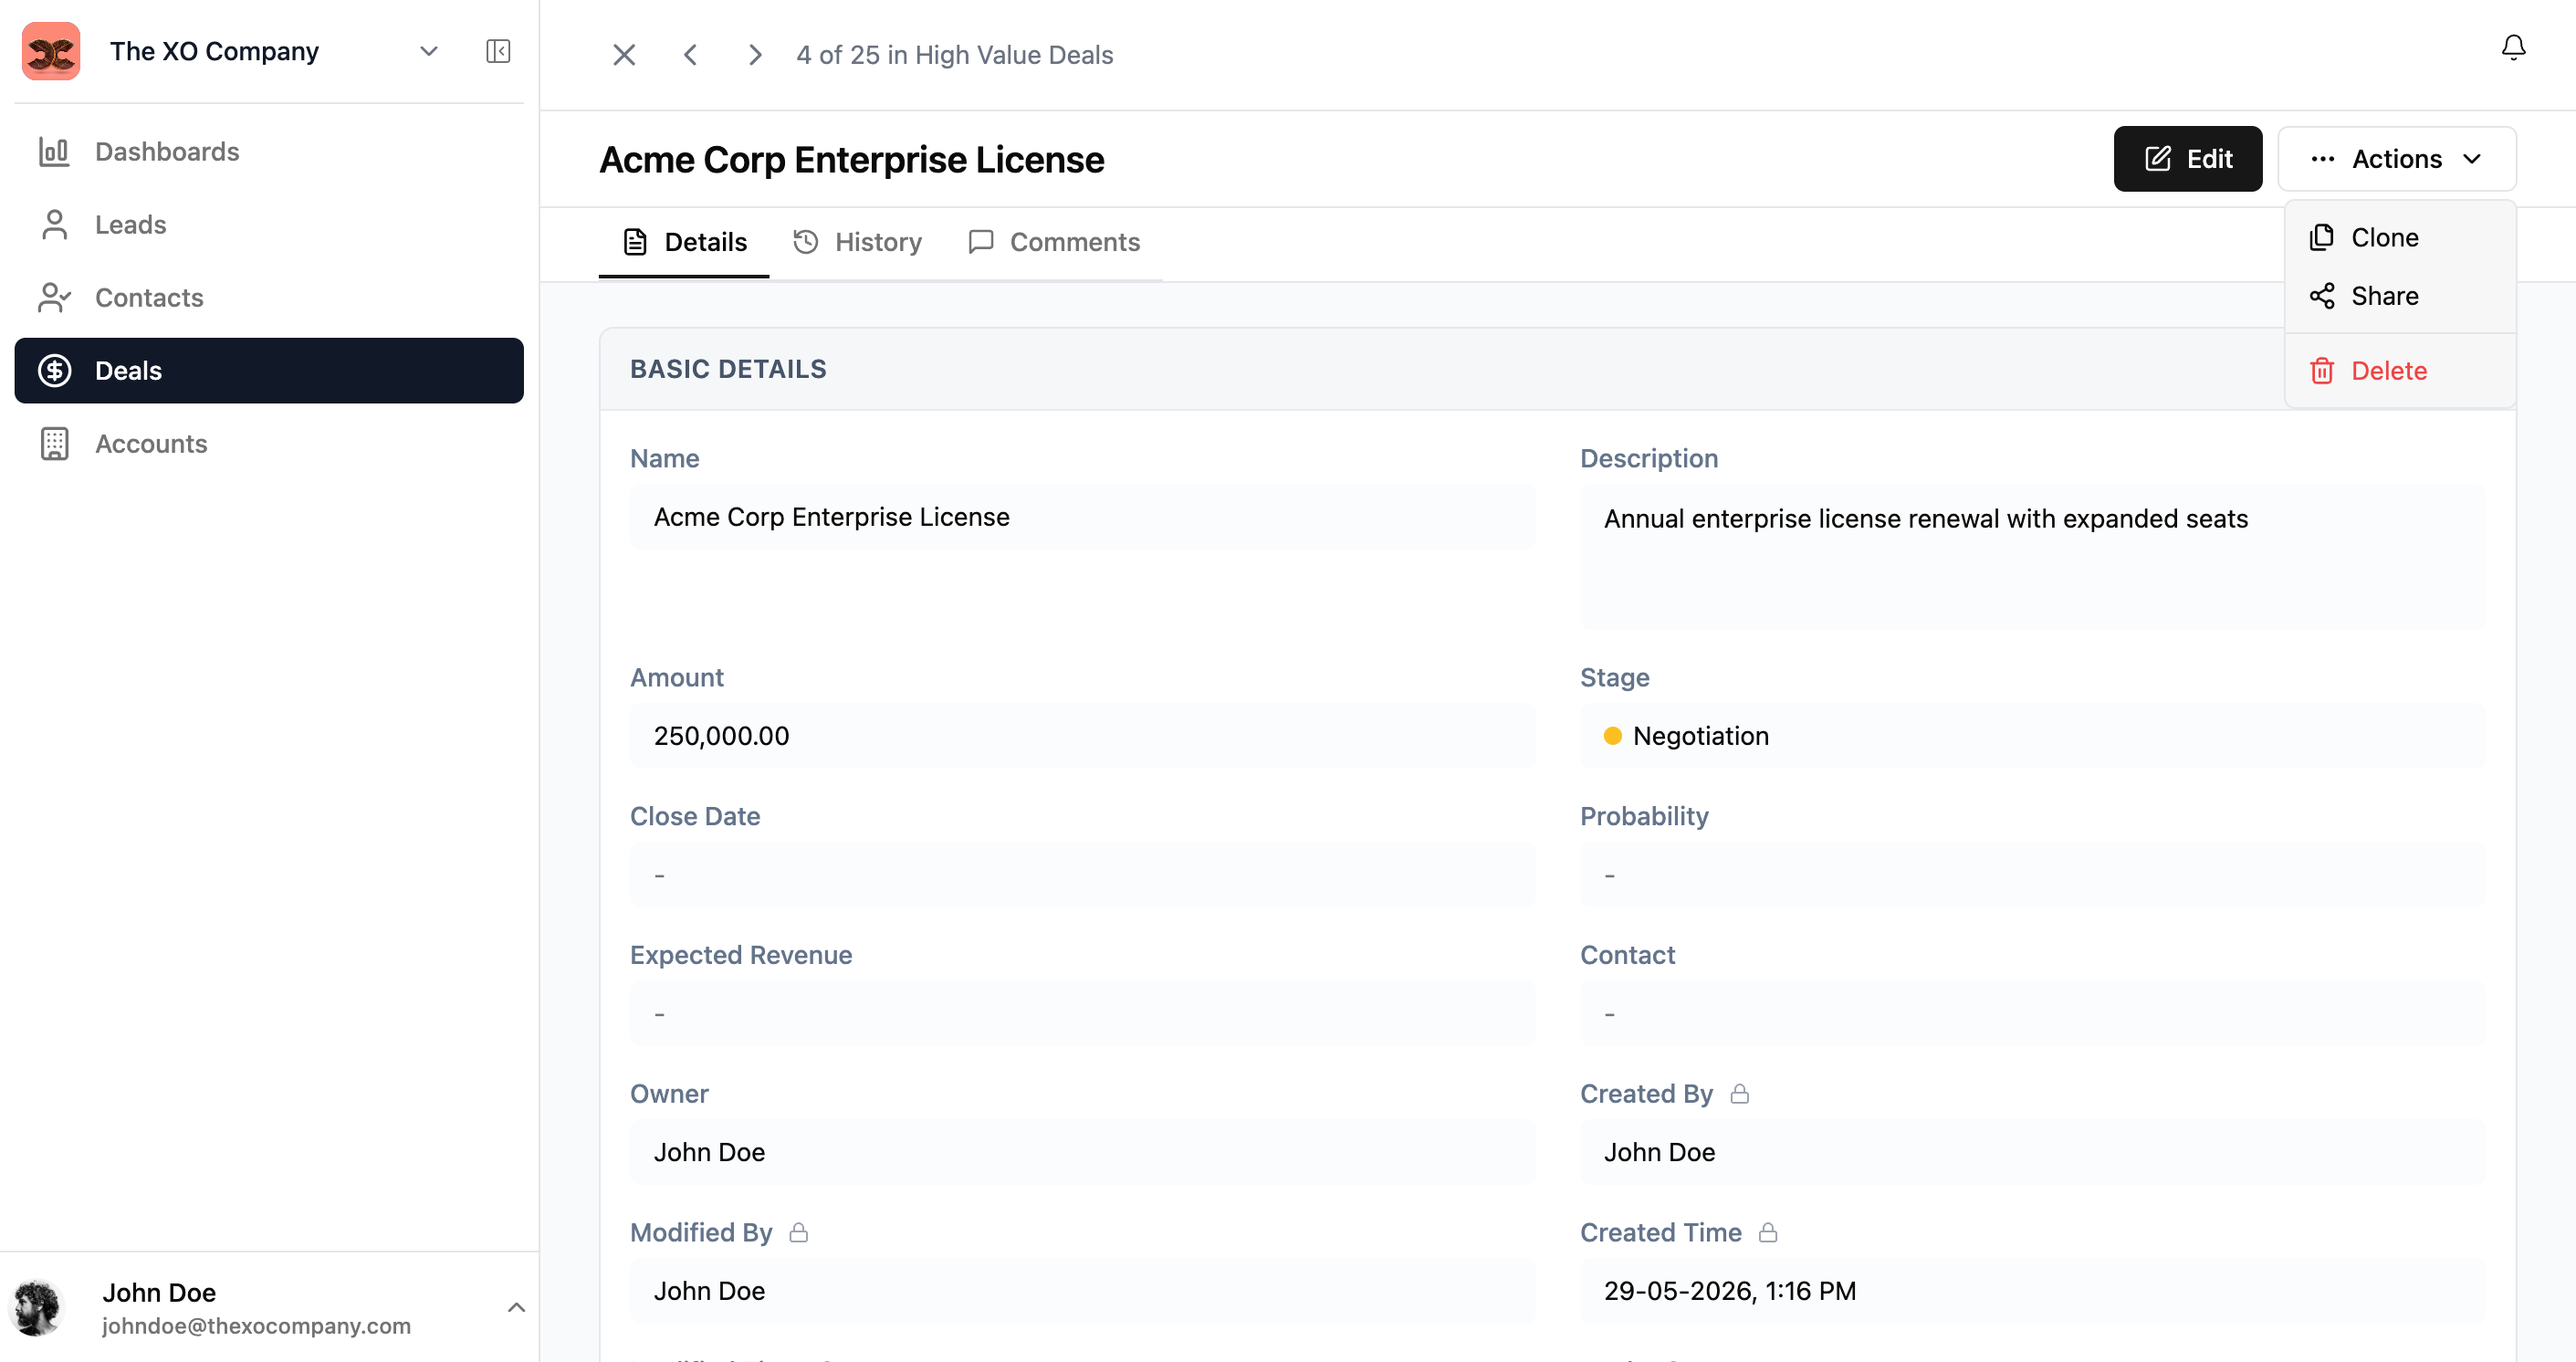
- 1Open the record you want to clone.
- 2Click Actions → Clone.
- 3Modify any fields as needed (e.g., change the name).
- 4Click Create to save the cloned record.
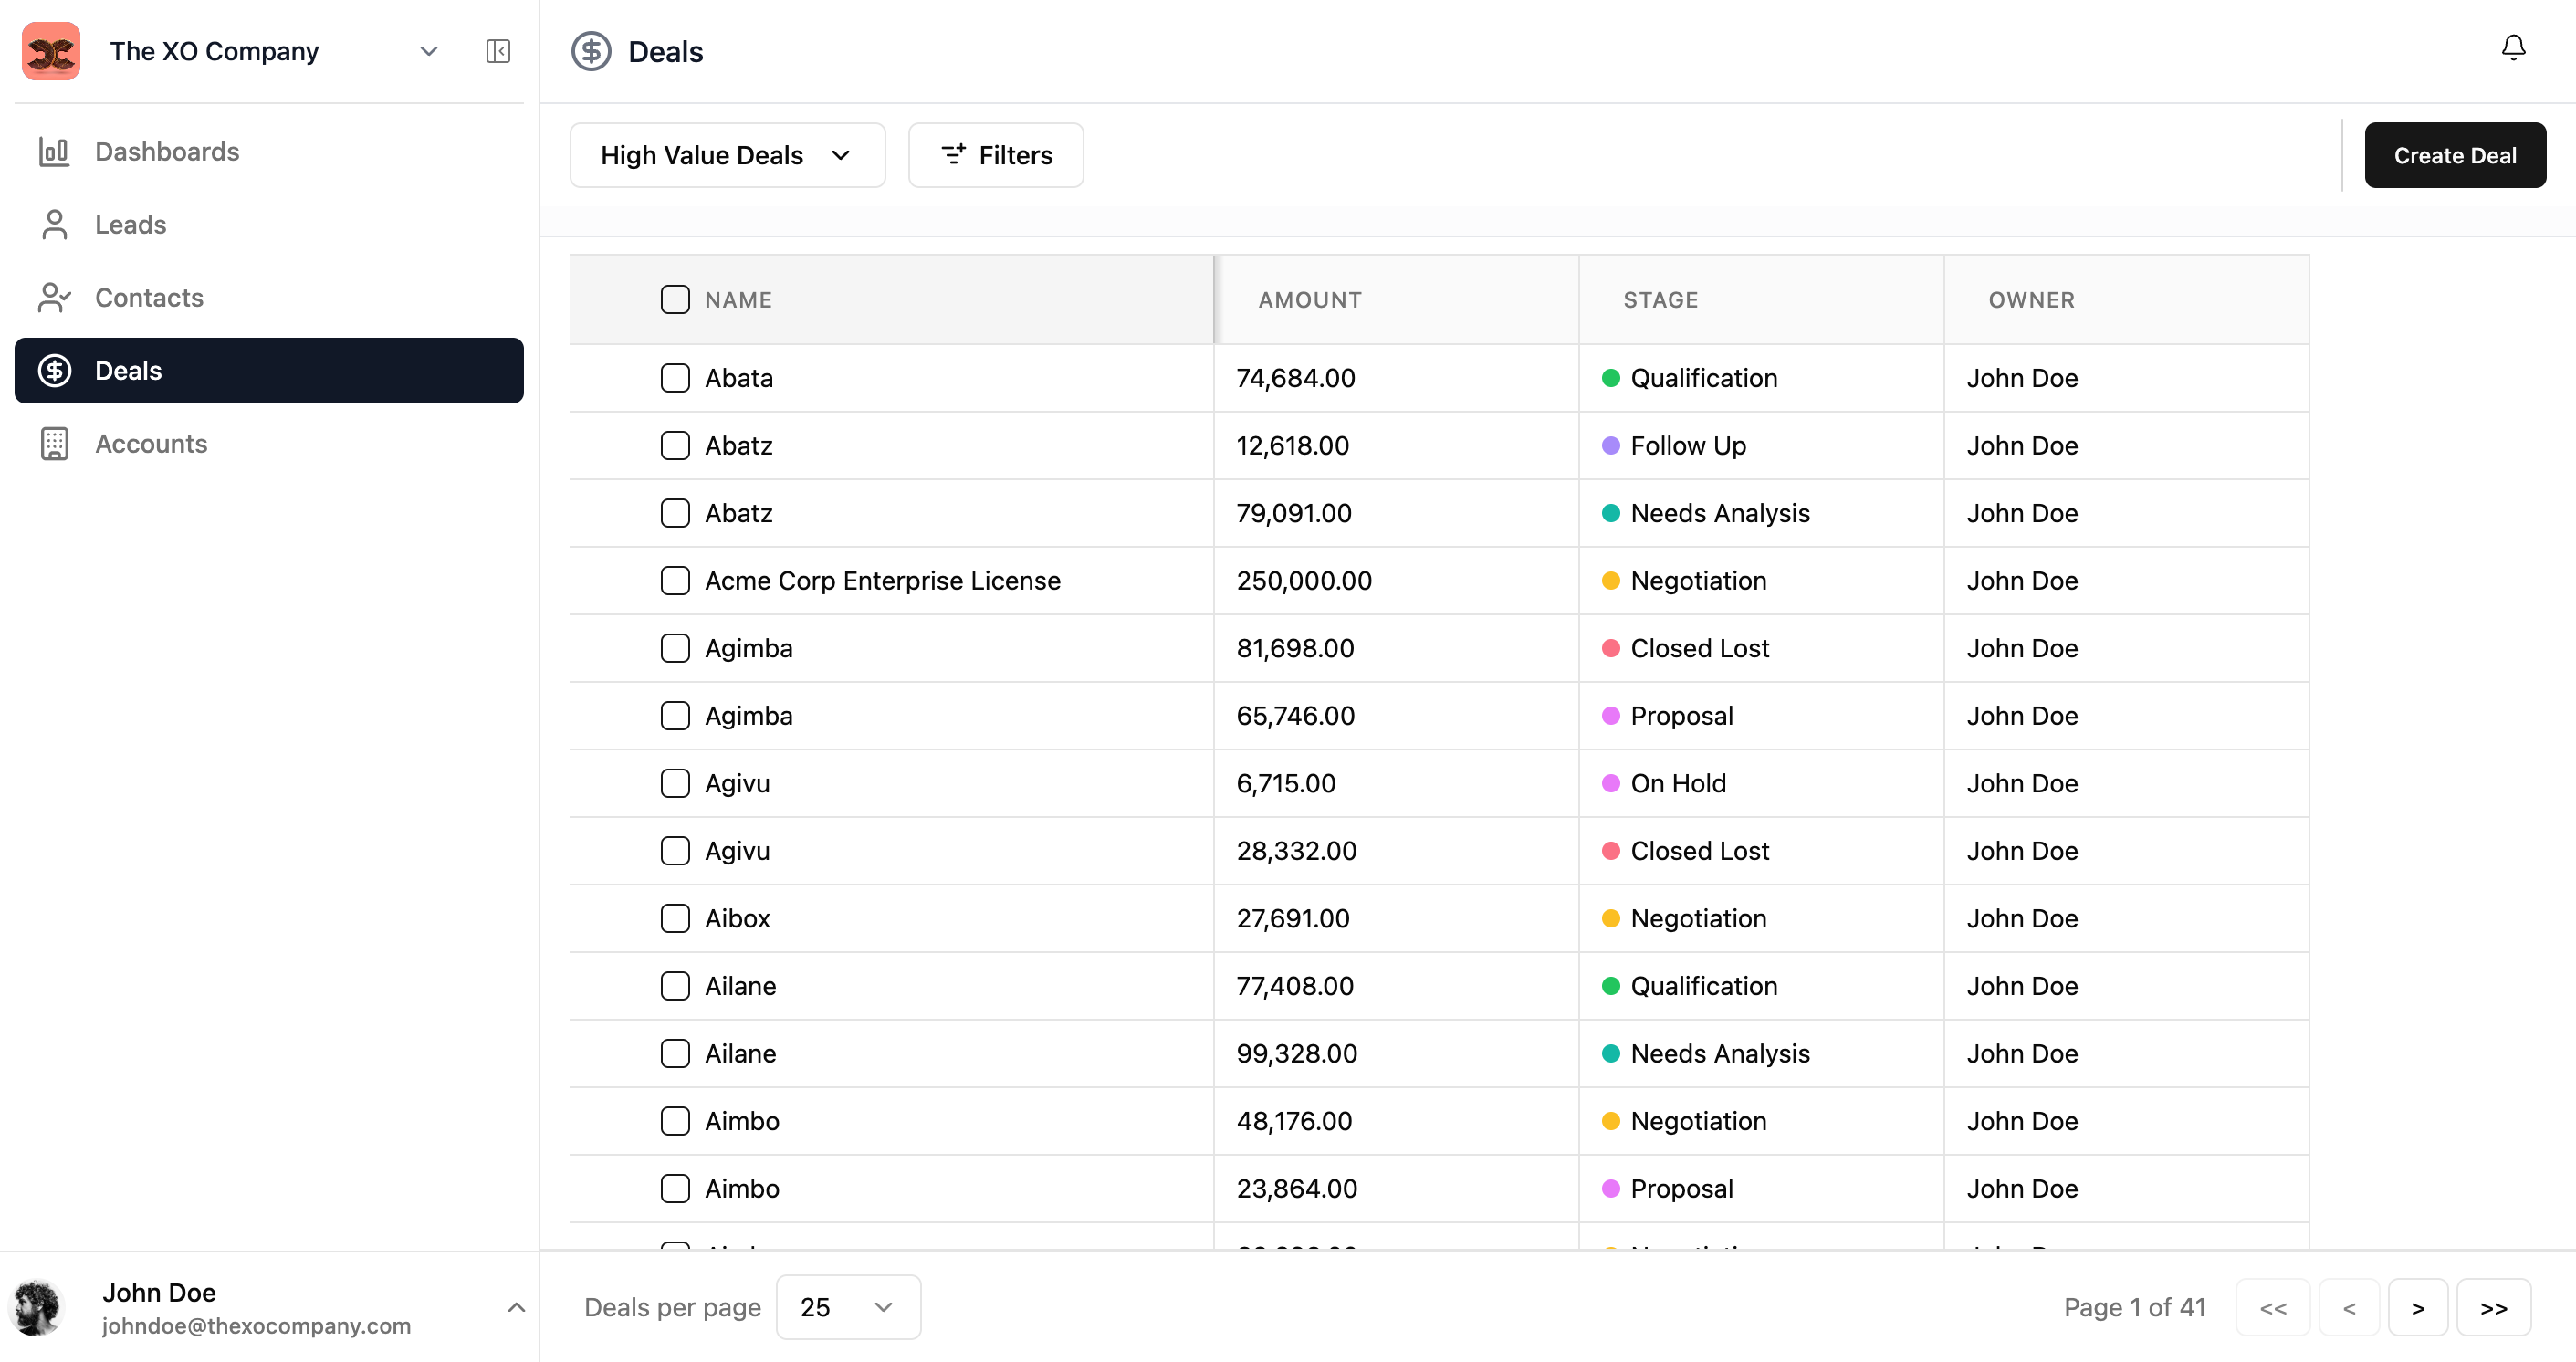
List View & Bulk Actions
The list view shows all records in a paginated table. You can select multiple records to perform bulk operations.
Bulk Actions
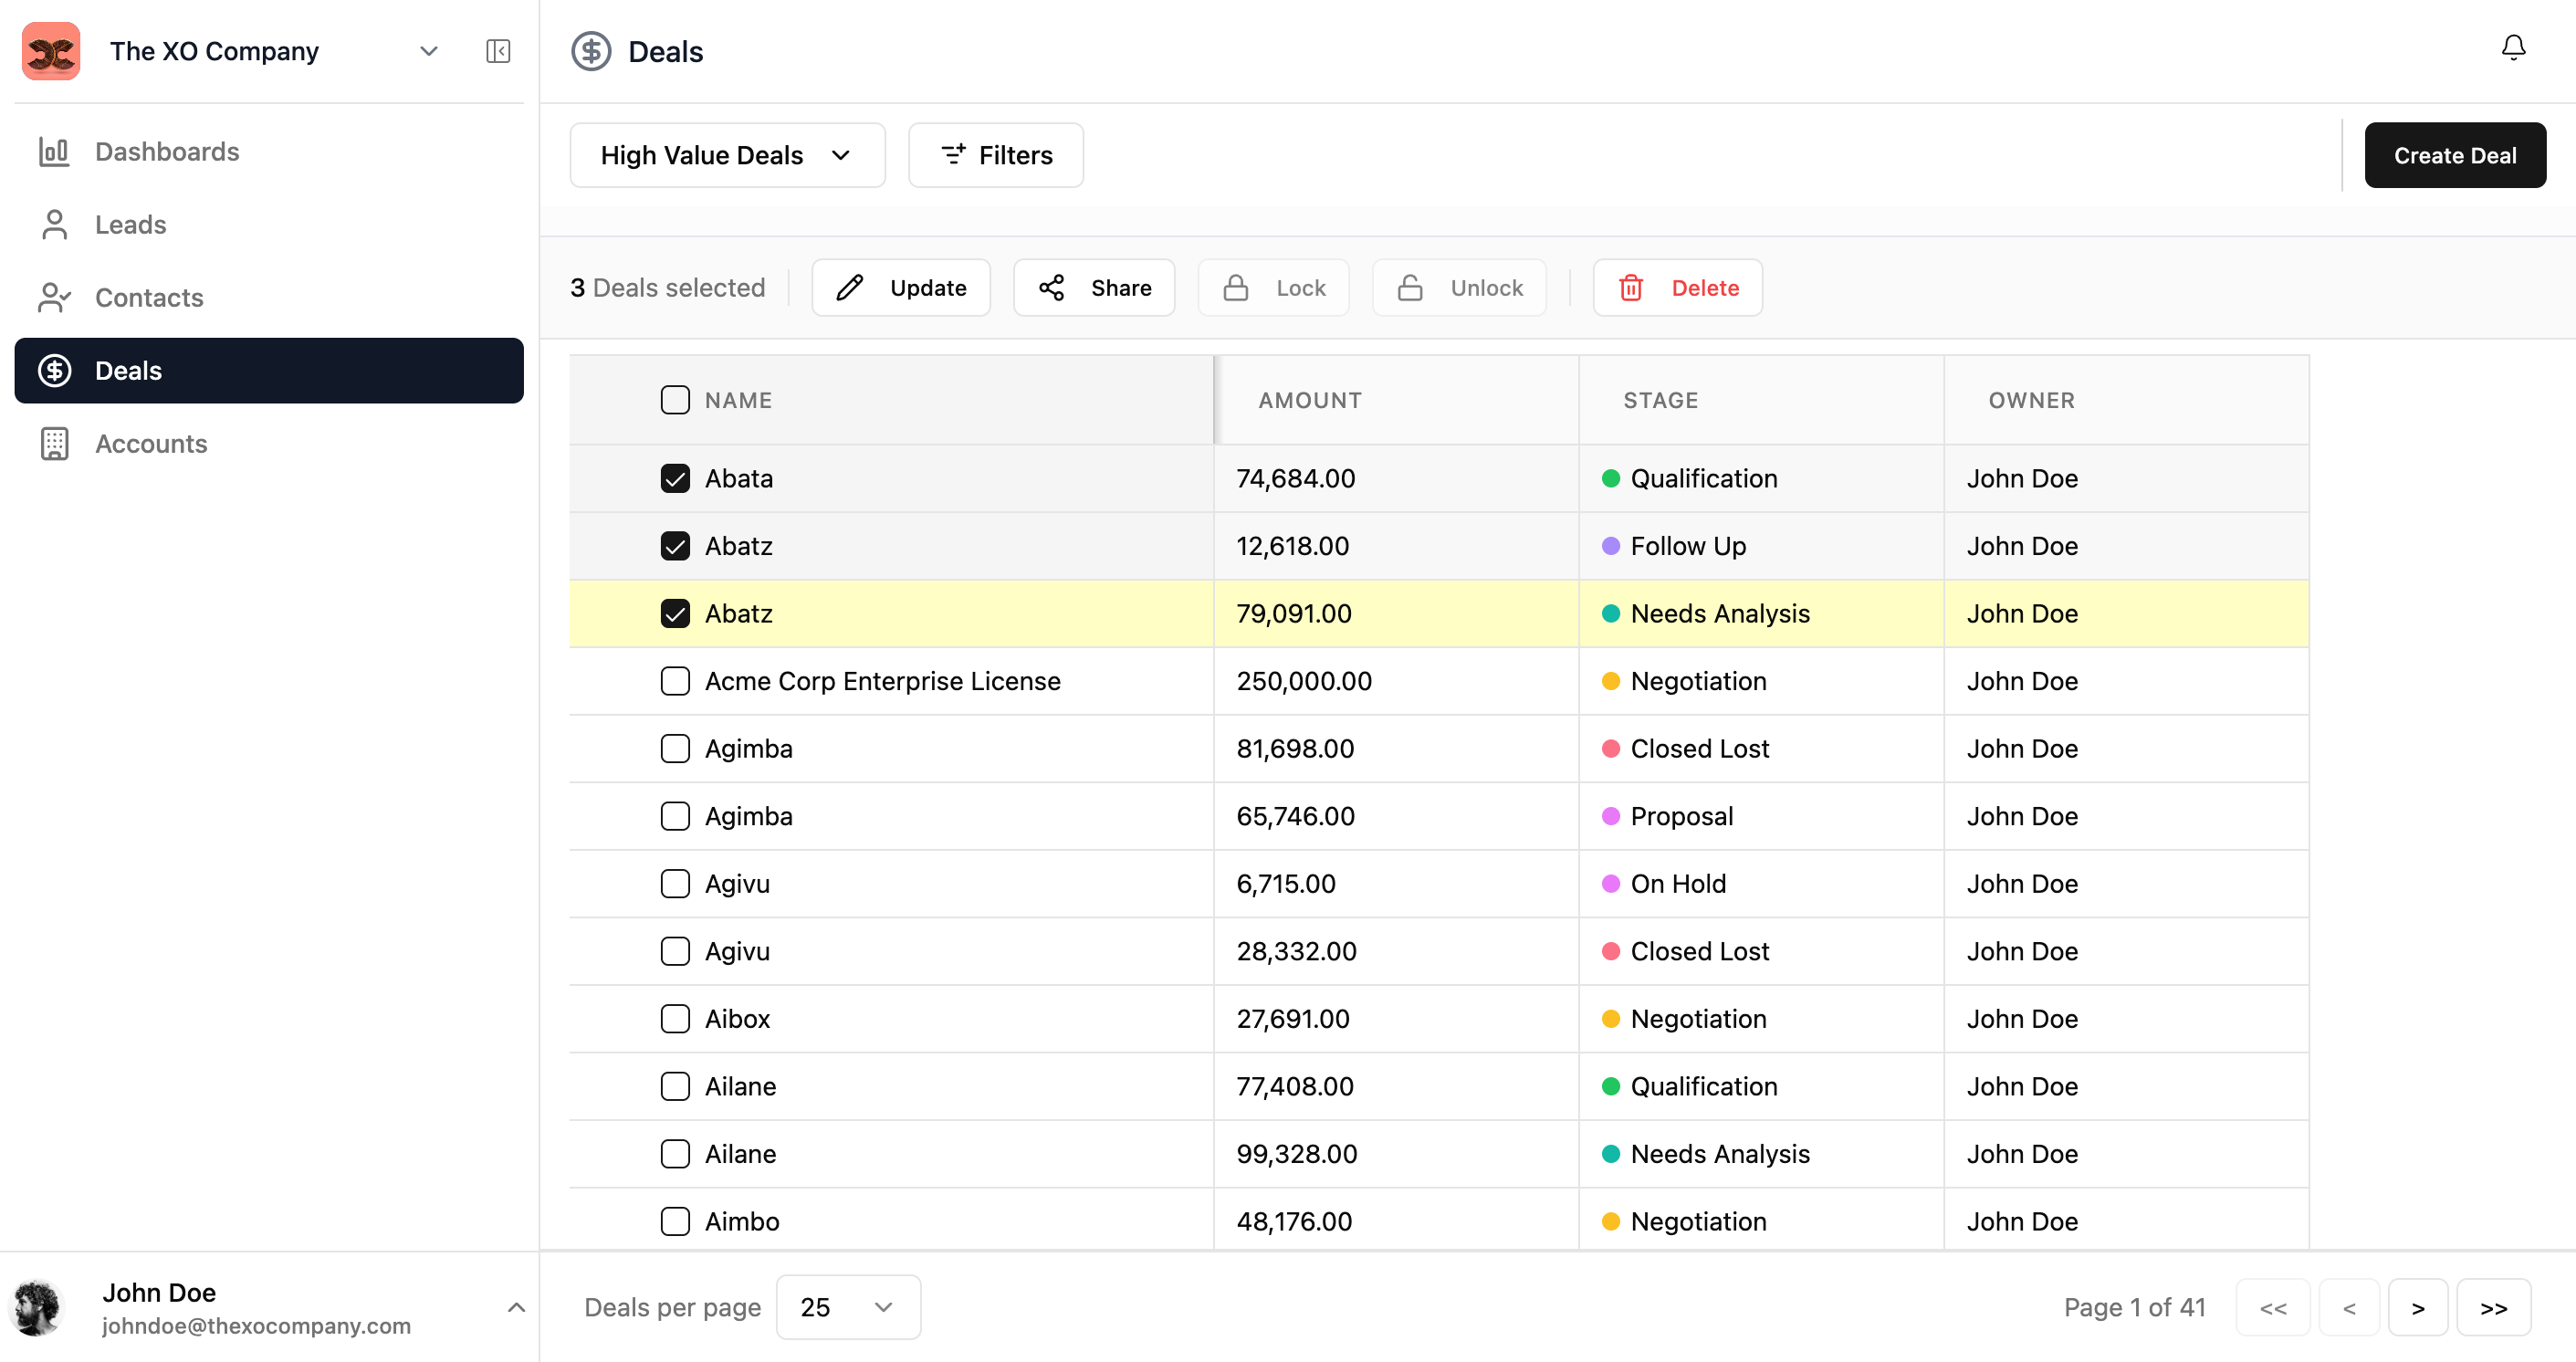
Select one or more records using the checkboxes to reveal the bulk actions toolbar:
| Action | Description |
|---|---|
| Update | Batch-edit a field value across all selected records. |
| Share | Share selected records with other users or roles. |
| Lock / Unlock | Apply or remove record locks on selected records. |
| Delete | Permanently delete the selected records. |
️ Bulk delete is permanent. You'll be asked to confirm before records are removed.